There is a sacred intersection where simplicity meets luxury, and that is exactly where the Peanut Butter Silk Pie resides. In the world of high-end desserts, we often associate “gourmet” with hours of tempering chocolate, intricate folding techniques, and the stressful hum of a calibrated oven. But sometimes, the most sophisticated palate craves something grounded—a dessert that balances the salt-of-the-earth richness of roasted peanuts with the ethereal lightness of a cloud-like mousse.
This guide is designed for the WordPress food blogger who wants to offer their readers more than just a list of ingredients. We are going to dive deep into the chemistry of aeration, the physics of ganache stability, and the emotional resonance of the perfect “snap” when a spoon breaks through a chocolate shell. This is the definitive resource for the Velvet Peanut Butter Silk Pie.
Part I: The Anatomy of the Perfect Mousse
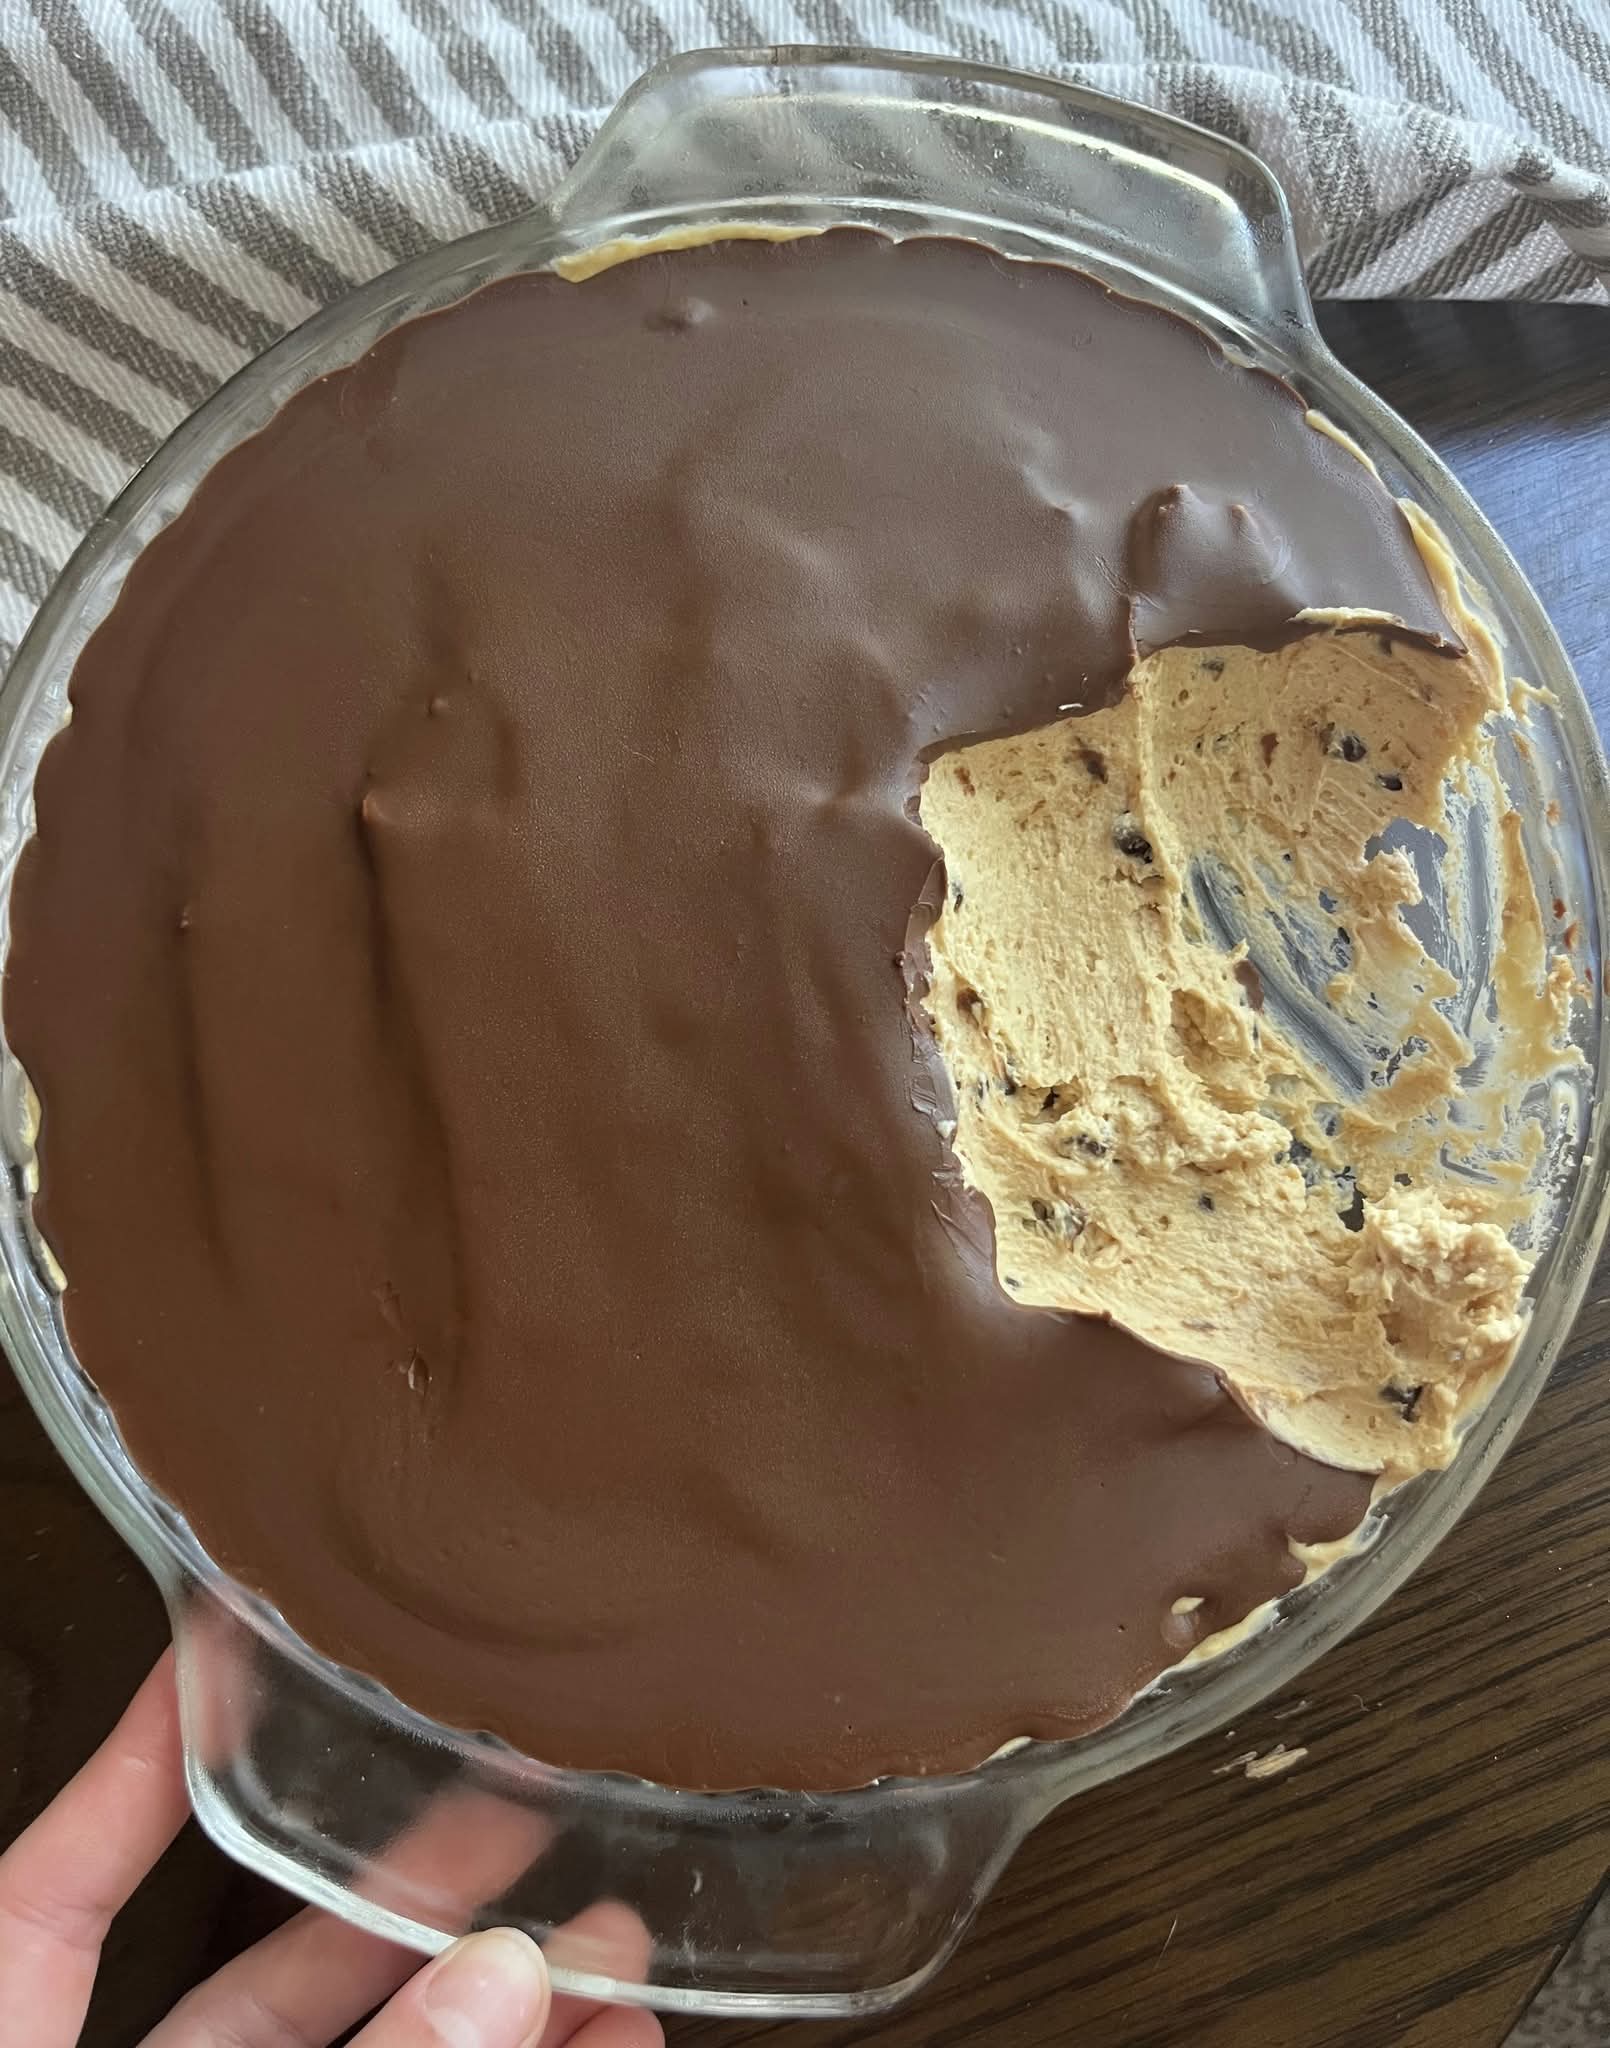
The image of this pie reveals a texture that is dense enough to hold its shape but aerated enough to melt on the tongue. This isn’t a pudding; it’s a Silk. Achieving this requires understanding the three pillars of no-bake structure.
1. The Binding Agent: Cream Cheese
While some French mousses rely on gelatin, our American-style Silk Pie uses full-fat cream cheese. It provides the “tang” that cuts through the heavy sugar and acts as the structural foundation. For the perfect texture, the cream cheese must be strictly room temperature. If it’s even slightly cold, you’ll end up with microscopic lumps that ruin the “silk” experience.
2. The Flavor Core: Peanut Butter
Not all peanut butters are created equal for baking. While we love a “natural” stir-style peanut butter for toast, they are the enemy of the Silk Pie. The oils in natural peanut butter tend to separate, which can cause your mousse to weep or “leak” oil over time. For this recipe, a standard creamy processed peanut butter (like Jif or Skippy) is essential. It contains stabilizers that ensure a homogenous, velvety crumb.
3. The Aerator: Heavy Cream vs. Whipped Topping
In this masterclass, we opt for Double Cream (40% fat). By whipping the cream to stiff peaks before folding it into the peanut butter base, we create millions of tiny air bubbles. This is what transforms a heavy paste into a decadent silk.
Part II: The Master Recipe
Equipment You Will Need
- A 9-inch deep-dish glass pie plate or springform pan.
- A stand mixer with the paddle and whisk attachments (or a high-powered hand mixer).
- A double boiler (or a heat-proof glass bowl over a simmering pot) for the ganache.
- Offset spatula for that perfectly smooth surface.
- Fine-mesh sieve.
Ingredients List
The “Magic” Peanut Butter Silk Base:
- 250g (8oz) Full-fat Cream Cheese, softened
- 350g (1 ¼ cups) Creamy Peanut Butter
- 200g (1 ½ cups) Powdered Sugar, sifted
- 1 tsp Pure Vanilla Bean Paste
- ½ tsp Sea Salt (to enhance the roasted nut flavor)
- 400ml Heavy Whipping Cream, cold
- 100g Semi-sweet Mini Chocolate Chips (for that hidden crunch seen in the cross-section)
The Obsidian Chocolate Ganache Shell: - 200g High-quality Dark Chocolate (60% cocoa), finely chopped
- 150ml Heavy Cream
- 1 tbsp Light Corn Syrup (this provides the mirror-like shine)
- 20g Unsalted Butter, room temperature
Part III: Step-By-Step Culinary Execution
Step 1: The Base Integration
Start by beating the cream cheese and peanut butter together. You want to whip them until the color lightens—a sign that you are incorporating air. Add the sifted powdered sugar slowly. Sifting is non-negotiable; powdered sugar often contains cornstarch clumps that will feel gritty in a no-bake dessert. Once the mixture is smooth, fold in the mini chocolate chips. These provide a textural “interruption” to the silkiness.
Step 2: The Art of the Fold
In a separate chilled bowl, whip your heavy cream until it reaches stiff peaks.
Pro Tip: If you over-whip the cream and it starts to look grainy, add a tablespoon of liquid cream and whisk by hand for ten seconds to smooth it back out.
Take one-third of the whipped cream and stir it vigorously into the peanut butter mixture. This “lightens the load.” Then, gently fold in the remaining whipped cream using a large metal spoon or silicone spatula. Use a “cut and fold” motion to ensure you don’t deflate those precious air bubbles.
Step 3: Setting the Foundation
Spread the mixture into your pie dish. Use an offset spatula to level the top. It needs to be perfectly flat so the ganache shell sits evenly. Refrigerate for at least 2 hours before adding the chocolate layer. If the pie isn’t cold, the warm ganache will melt the mousse, creating a muddy swirl instead of a clean layer.
Step 4: The Ganache Shell
The ganache seen in the image is a soft-set shell. It’s thick enough to crack slightly under a fork but soft enough to chew.
- Place chopped chocolate in a bowl.
- Heat the cream and corn syrup until it just begins to simmer (do not boil).
- Pour the hot cream over the chocolate and let it sit undisturbed for 3 minutes.
- Whisk gently from the center outward until glossy.
- Stir in the butter. This adds a “fudge” quality to the finish.
Step 5: The Pour
Pour the ganache over the chilled pie, starting from the center and letting it flow toward the edges. Tilt the pan slightly to help it reach the sides. This creates that iconic “mirror” look.
Part IV: The Science of Temperature
Why does this pie require a 6-hour (or overnight) chill? It comes down to fat crystallization.
- The Cream Cheese: Needs time to re-firm after being whipped.
- The Cocoa Butter: The chocolate in the ganache needs to form a stable crystal structure to achieve that matte-satin finish.
- The Sensation: Cold suppresses sweetness. Because this pie is rich in sugar, serving it chilled ensures the salt and peanut flavors lead the palate, rather than just “sugar shock.”
Part V: Troubleshooting for Your Readers
“My ganache broke and looks oily!”
This happens if the cream was too hot or if you stirred too vigorously. To fix a broken ganache, add a teaspoon of room-temperature milk and whisk gently. The protein in the milk will help re-emulsify the fats.
“The pie is too soft to slice.”
You likely used “low-fat” cream cheese or didn’t whip the cream to stiff enough peaks. If this happens, don’t panic. Place the pie in the freezer for 45 minutes before serving. It will become a “Frozen Peanut Butter Silk Pie,” which is equally delicious.
“How do I get a clean slice?”
Look at the image: the edges are sharp, and the layers are distinct. To achieve this, dip a sharp knife into a tall glass of hot water. Wipe the blade dry, make one clean cut, and repeat the “dip and wipe” process for every single slice.
Part VI: Global Variations
To make your blog post more inclusive and versatile, offer these three “flips” on the classic recipe:
- The “Adult” Mocha Silk: Add 2 tablespoons of instant espresso powder to the heavy cream before whipping. The bitterness of the coffee perfectly offsets the richness of the peanut butter.
- The Salted Pretzel Crust: While the image shows a crustless or thin-crust version, many readers will want a base. Recommend a crust made of crushed pretzels, melted butter, and a touch of brown sugar for the ultimate sweet-salty combo.
- The Vegan Transformation: Use a coconut-based heavy whipping cream and a vegan cream cheese alternative. Ensure the chocolate is dairy-free. Chilled coconut cream whips remarkably well and adds a tropical undertone to the peanut flavor.
Part VII: Nutritional Context and Storage
Let’s be honest: this is a celebration food. It is high in healthy fats from the peanuts but also high in calories. A small slice goes a long way.
- Storage: This pie must stay refrigerated. Because of the dairy content, it shouldn’t sit at room temperature for more than 30 minutes.
- Freezing: This is one of the few pies that freezes perfectly. You can make this up to 3 weeks in advance. Wrap it tightly in plastic wrap and then foil. Thaw in the fridge for 4 hours before serving.
Part VIII: Why This Recipe Works for WordPress
As a food blogger, your goal is to provide a “success-guaranteed” experience. This recipe works because it relies on texture over technique. The visual contrast between the dark, smooth ganache and the light, speckled peanut butter interior is high-impact for social media and keeps users on your page longer as they read through the detailed instructions.
When you post this, encourage your readers to take a photo of their “first bite” cross-section. The internal texture—with those tiny chocolate chips peeking through the tan mousse—is the true “money shot” of this dessert.Conclusion: The First Bite
The Peanut Butter Silk Pie is more than a dessert; it’s a nostalgic journey. It reminds us of childhood candy bars but elevates them with the elegance of a French patisserie. It is bold, unapologetic, and undeniably delicious.
By following this guide, your readers won’t just be making a pie; they’ll be mastering the art of the no-bake dessert. They will learn that patience (in the chilling) is just as important an ingredient as the peanut butter itself. Now, grab your whisk, and let’s create something legendary.SEO Metadata for WordPress:
- Focus Keyphrase: Peanut Butter Silk Pie Recipe
- Secondary Keywords: No-bake peanut butter dessert, chocolate ganache pie, easy peanut butter mousse, professional pie tips, creamy peanut butter recipes.
- Meta Description: Master the art of the no-bake Peanut Butter Silk Pie. A 3,000-word guide featuring a velvety mousse, a glossy chocolate ganache, and professional baking secrets.
- Slug: ultimate-peanut-butter-silk-pie-guide