No-Churn Chocolate Chip Ice Cream with Chocolate Bars: A Complete Step-by-Step Recipe
Ice cream is one of the most beloved desserts worldwide, and making it at home can be both fun and rewarding. This no-churn chocolate chip ice cream recipe is perfect for those who want to enjoy creamy, rich ice cream without the need for an ice cream maker. The addition of chocolate bars on top adds a delightful texture and extra chocolatey goodness.
In this extensive guide, you will learn how to make this ice cream from scratch, including tips on ingredient selection, mixing techniques, freezing, and serving. Whether you’re a beginner or an experienced home cook, this recipe will help you create a luscious dessert that rivals any store-bought version.
Table of Contents
Introduction to No-Churn Ice Cream
Ingredients Overview
Equipment Needed
Preparing the Ice Cream Base
Incorporating Chocolate Chips
Freezing and Setting the Ice Cream
Adding Chocolate Bar Toppings
Serving Suggestions
Storage and Shelf Life
Variations and Customizations
Troubleshooting Common Issues
Nutritional Information
Frequently Asked Questions
Final Thoughts
1. Introduction to No-Churn Ice Cream
No-churn ice cream is a fantastic way to enjoy homemade ice cream without investing in an ice cream machine. It relies on whipped cream and sweetened condensed milk to create a creamy texture that freezes well. This method is simple, quick, and yields delicious results.
Chocolate chip ice cream is a classic flavor loved by many. The combination of creamy vanilla base with crunchy chocolate chips and chunks of chocolate bars makes every bite a delightful experience.
2. Ingredients Overview
2 cups (480 ml) heavy whipping cream (cold)
1 can (14 oz or 396 g) sweetened condensed milk
1 teaspoon vanilla extract
1 cup mini chocolate chips
4-6 chocolate bars (milk or dark chocolate), broken into pieces for topping
3. Equipment Needed
Large mixing bowl
Electric mixer or stand mixer
Spatula
Freezer-safe container (glass or plastic)
Measuring cups and spoons
4. Preparing the Ice Cream Base
Step 1: Chill Equipment
For best results, chill your mixing bowl and beaters in the refrigerator for 15-20 minutes before whipping the cream.
Step 2: Whip the Cream
Pour the cold heavy whipping cream into the chilled bowl. Beat on medium-high speed until stiff peaks form. Be careful not to overbeat.
Step 3: Add Sweetened Condensed Milk and Vanilla
Gently fold in the sweetened condensed milk and vanilla extract into the whipped cream using a spatula. Mix until fully combined but maintain the airy texture.
5. Incorporating Chocolate Chips
Step 1: Fold in Chocolate Chips
Add the mini chocolate chips to the ice cream base. Fold gently to distribute evenly without deflating the mixture.
6. Freezing and Setting the Ice Cream
Step 1: Transfer to Container
Pour the ice cream mixture into a freezer-safe container. Smooth the top with a spatula.
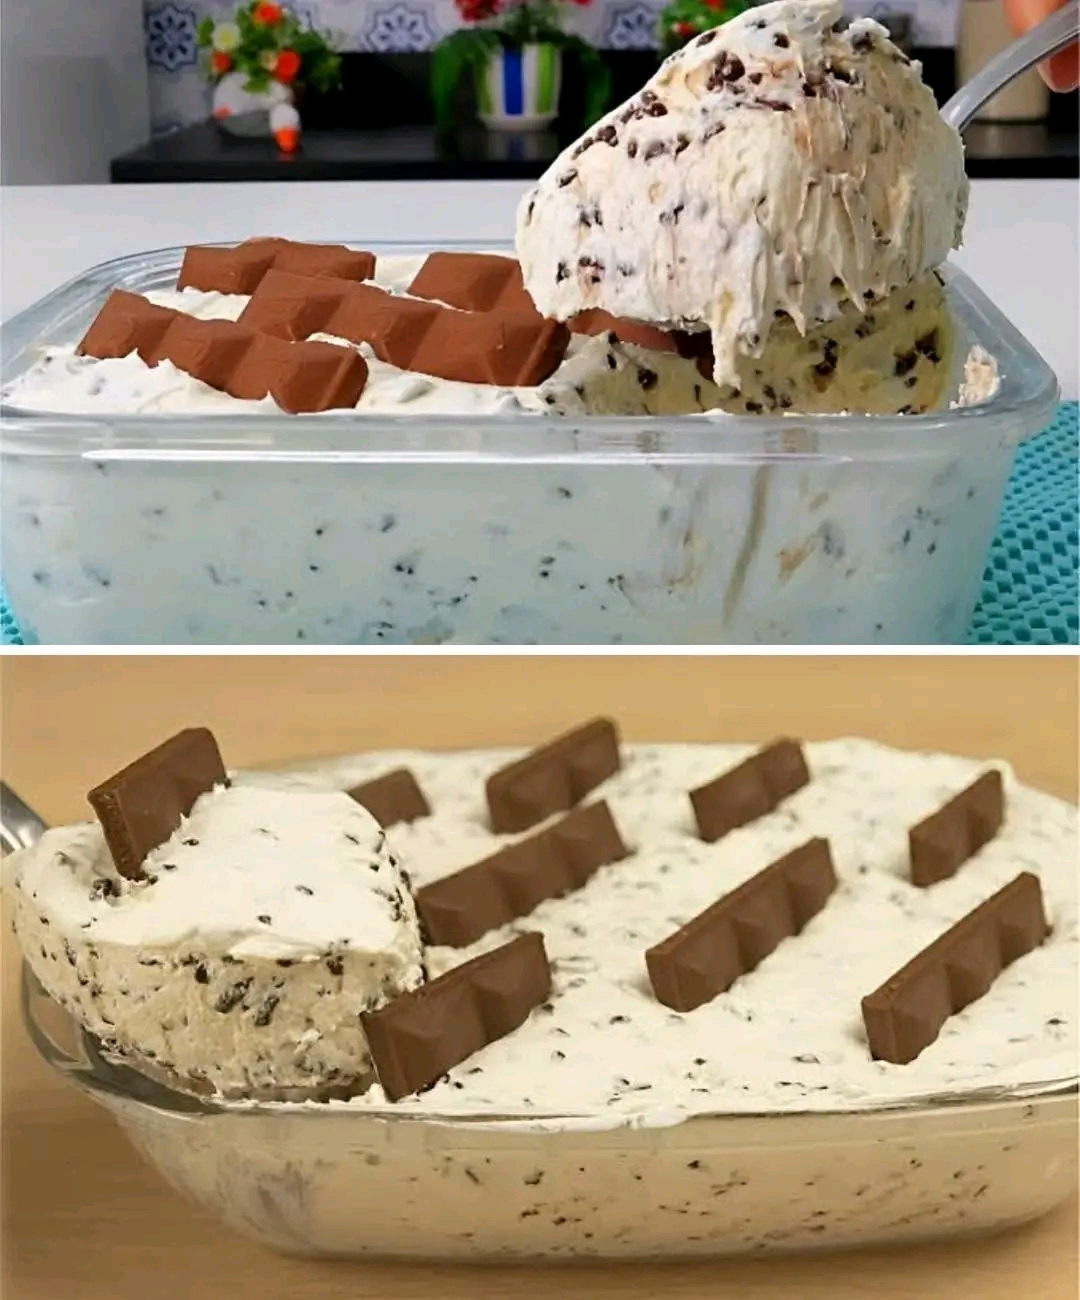
Step 2: Add Chocolate Bar Toppings
Place broken pieces of chocolate bars evenly on top of the ice cream.
Step 3: Freeze
Cover the container with a lid or plastic wrap. Freeze for at least 6 hours or overnight until firm.
7. Adding Chocolate Bar Toppings
The chocolate bars on top add a crunchy texture and enhance the chocolate flavor. You can use your favorite chocolate bars, such as milk chocolate, dark chocolate, or even flavored bars like caramel or nuts.
8. Serving Suggestions
Scoop the ice cream into bowls or cones.
Garnish with extra chocolate chips or chocolate shavings.
Serve with fresh berries or a drizzle of chocolate syrup for an indulgent treat.
9. Storage and Shelf Life
Store the ice cream in an airtight container in the freezer.
Consume within 2 weeks for best flavor and texture.
Avoid repeated thawing and refreezing to maintain quality.
10. Variations and Customizations
Nutty Chocolate Chip: Add chopped nuts like almonds or pecans.
Mint Chocolate Chip: Add peppermint extract and green food coloring.
Cookie Dough: Fold in chunks of cookie dough for extra indulgence.
Vegan Version: Use coconut cream and sweetened condensed coconut milk.
11. Troubleshooting Common Issues
Ice Cream Too Soft: Ensure the mixture is well chilled before freezing.
Ice Crystals Formation: Fold gently to maintain airiness and freeze quickly.
Chocolate Chips Sink: Fold in chocolate chips last and freeze immediately.
12. Nutritional Information (Approximate per serving)
Nutrient Amount
Calories 350-400 kcal
Carbohydrates 40 g
Protein 4 g
Fat 20 g
Saturated Fat 12 g
Sugar 35 g
Fiber 2 g
13. Frequently Asked Questions
Q: Can I use regular chocolate chips instead of mini?
A: Yes, but mini chips distribute more evenly.
Q: Do I need an ice cream maker?
A: No, this is a no-churn recipe.
Q: How long does it take to freeze?
A: At least 6 hours or overnight for best results.
14. Final Thoughts
This no-churn chocolate chip ice cream with chocolate bar toppings is a simple yet indulgent dessert that anyone can make at home. With minimal ingredients and effort, you can enjoy creamy, delicious ice cream anytime. Experiment with different mix-ins and toppings to create your perfect version.
Enjoy your homemade ice cream and share the joy with family and friends!