The Ultimate Guide to Slow-Cooker Huli Huli Chicken: A Taste of the Islands
There is a specific kind of magic that happens when the sharp, acidic sweetness of pineapple meets the smoky, savory depth of flame-kissed chicken. In Hawaii, this magic has a name: Huli Huli Chicken.
While traditional Huli Huli is cooked over open pits and turned constantly (the word huli literally means “to turn”), most of us don’t have a rotisserie pit in our backyards. This recipe bridges the gap between island tradition and modern convenience, utilizing a slow cooker and a quick broil to achieve that signature caramelized glaze and fall-off-the-bone tenderness.
Table of Contents
- The History of Huli Huli
- Why This Recipe Works
- Key Ingredients Breakdown
- Step-by-Step Instructions
- The Art of the Glaze
- Perfect Pairings and Sides
- Storage and Reheating
- Frequently Asked Questions
The History of Huli Huli
In 1955, Ernest Morgado of Pacific Poultry in Honolulu began barbecuing chicken in a teriyaki-style sauce for a farmers’ meeting. It was such a hit that it became a staple of Hawaiian fundraisers and roadside stands.
The name “Huli Huli” was actually a trademarked brand name before it became a generic term for the style of cooking. Because the chicken was cooked on spits between two grills, the cooks would shout “Huli!” when it was time to flip the racks. Today, the scent of Huli Huli chicken wafting through the air is as much a part of the Hawaiian experience as the sound of the surf.
Why This Recipe Works
- The Acid-to-Sugar Ratio: We use pineapple juice not just for flavor, but for its enzymes (bromelain), which act as a natural meat tenderizer.
- Layered Flavor: By searing the chicken first, then slow-cooking, and finally broiling, we build layers of “umami” that a standard one-pot meal lacks.
- Versatility: This recipe works equally well with chicken thighs, drumsticks, or even wings for a game-day appetizer.
Key Ingredients Breakdown
The Protein
We strongly recommend bone-in, skin-on chicken thighs. The bone keeps the meat moist during the long cooking process, and the skin provides the perfect canvas for the sticky glaze.
The Marinade/Sauce Base
- Pineapple Juice: The backbone of the dish. Use 100% juice, not “pineapple drink.”
- Soy Sauce: Provides the salt and the deep color. Use tamari for a gluten-free version.
- Brown Sugar: This is essential for the caramelization. You can substitute honey, but the flavor profile will shift toward floral rather than molasses-rich.
- Ketchup: Adds body to the sauce and a touch of vinegary tang.
- Ginger and Garlic: Fresh is non-negotiable here. The aromatic punch of freshly grated ginger is what makes this taste authentic.
Step-by-Step Instructions
1. Preparation and Searing
Before the slow cooker even comes out, you want to brown your chicken. Season the thighs with salt and pepper. In a large skillet over medium-high heat, sear the chicken skin-side down for 3–5 minutes until the skin is golden and some of the fat has rendered.
2. The Slow Cooker Phase
Place the seared chicken into the slow cooker. In a medium bowl, whisk together the pineapple juice, soy sauce, brown sugar, ketchup, ginger, and garlic. Pour this over the chicken.
- Low Heat: 4–5 hours
- High Heat: 2.5–3 hours
3. The Pineapple Rings
About 30 minutes before the chicken is done, add canned or fresh pineapple rings to the slow cooker. This allows them to soak up the juices without falling apart.
4. The Finishing Touch (The Broil)
This is the most important step for a “WordPress-worthy” result. Carefully remove the chicken and pineapple rings and place them on a baking sheet.
Transfer the liquid from the slow cooker to a saucepan. Simmer it over medium-high heat until it reduces by half into a thick, syrupy glaze.
Brush the glaze generously over the chicken and pineapple. Broil for 3–5 minutes until the skin bubbles and chars slightly at the edges.
The Art of the Glaze
A common mistake is using the sauce straight from the slow cooker. Because the chicken releases juices during cooking, the sauce becomes diluted. By reducing the sauce on the stovetop, you concentrate the flavors.
Pro Tip: If the sauce isn’t thickening fast enough, whisk 1 tablespoon of cornstarch with 1 tablespoon of cold water and stir it into the boiling sauce. It will thicken instantly.
Perfect Pairings and Sides
Hawaiian Macaroni Salad
You cannot serve Huli Huli chicken without “mac salad.” Unlike mainland pasta salads, Hawaiian mac salad is creamy, slightly sweet, and heavy on the mayo. It provides a cool, rich counterpoint to the salty-sweet chicken.
Jasmine or Calrose Rice
A simple scoop of white rice is the traditional vessel for soaking up any extra glaze. For an extra touch, cook the rice in half water and half coconut milk.
Stir-Fried Greens
To balance the sweetness, serve with bok choy or snap peas sautéed with a little sesame oil and red pepper flakes.
Storage and Reheating
- Fridge: Keep in an airtight container for up to 4 days.
- Freezer: You can freeze the cooked chicken in the sauce for up to 3 months.
- Reheating: Avoid the microwave if possible, as it can make the chicken rubbery. Reheat in an oven at 350°F (175°C) covered with foil to retain moisture.
Frequently Asked Questions
Can I use chicken breast?
You can, but be careful. Chicken breast dries out quickly in a slow cooker. Reduce the cooking time by about an hour and ensure you use plenty of glaze to keep it moist.
Can I make this in an Instant Pot?
Yes! Use the “Manual” or “Pressure Cook” setting for 15 minutes with a natural release. You will still need to broil the chicken at the end to get that signature texture.
What if I don’t have pineapple juice?
Orange juice is a decent substitute, though the flavor will be more citrus-forward and less “tropical.”
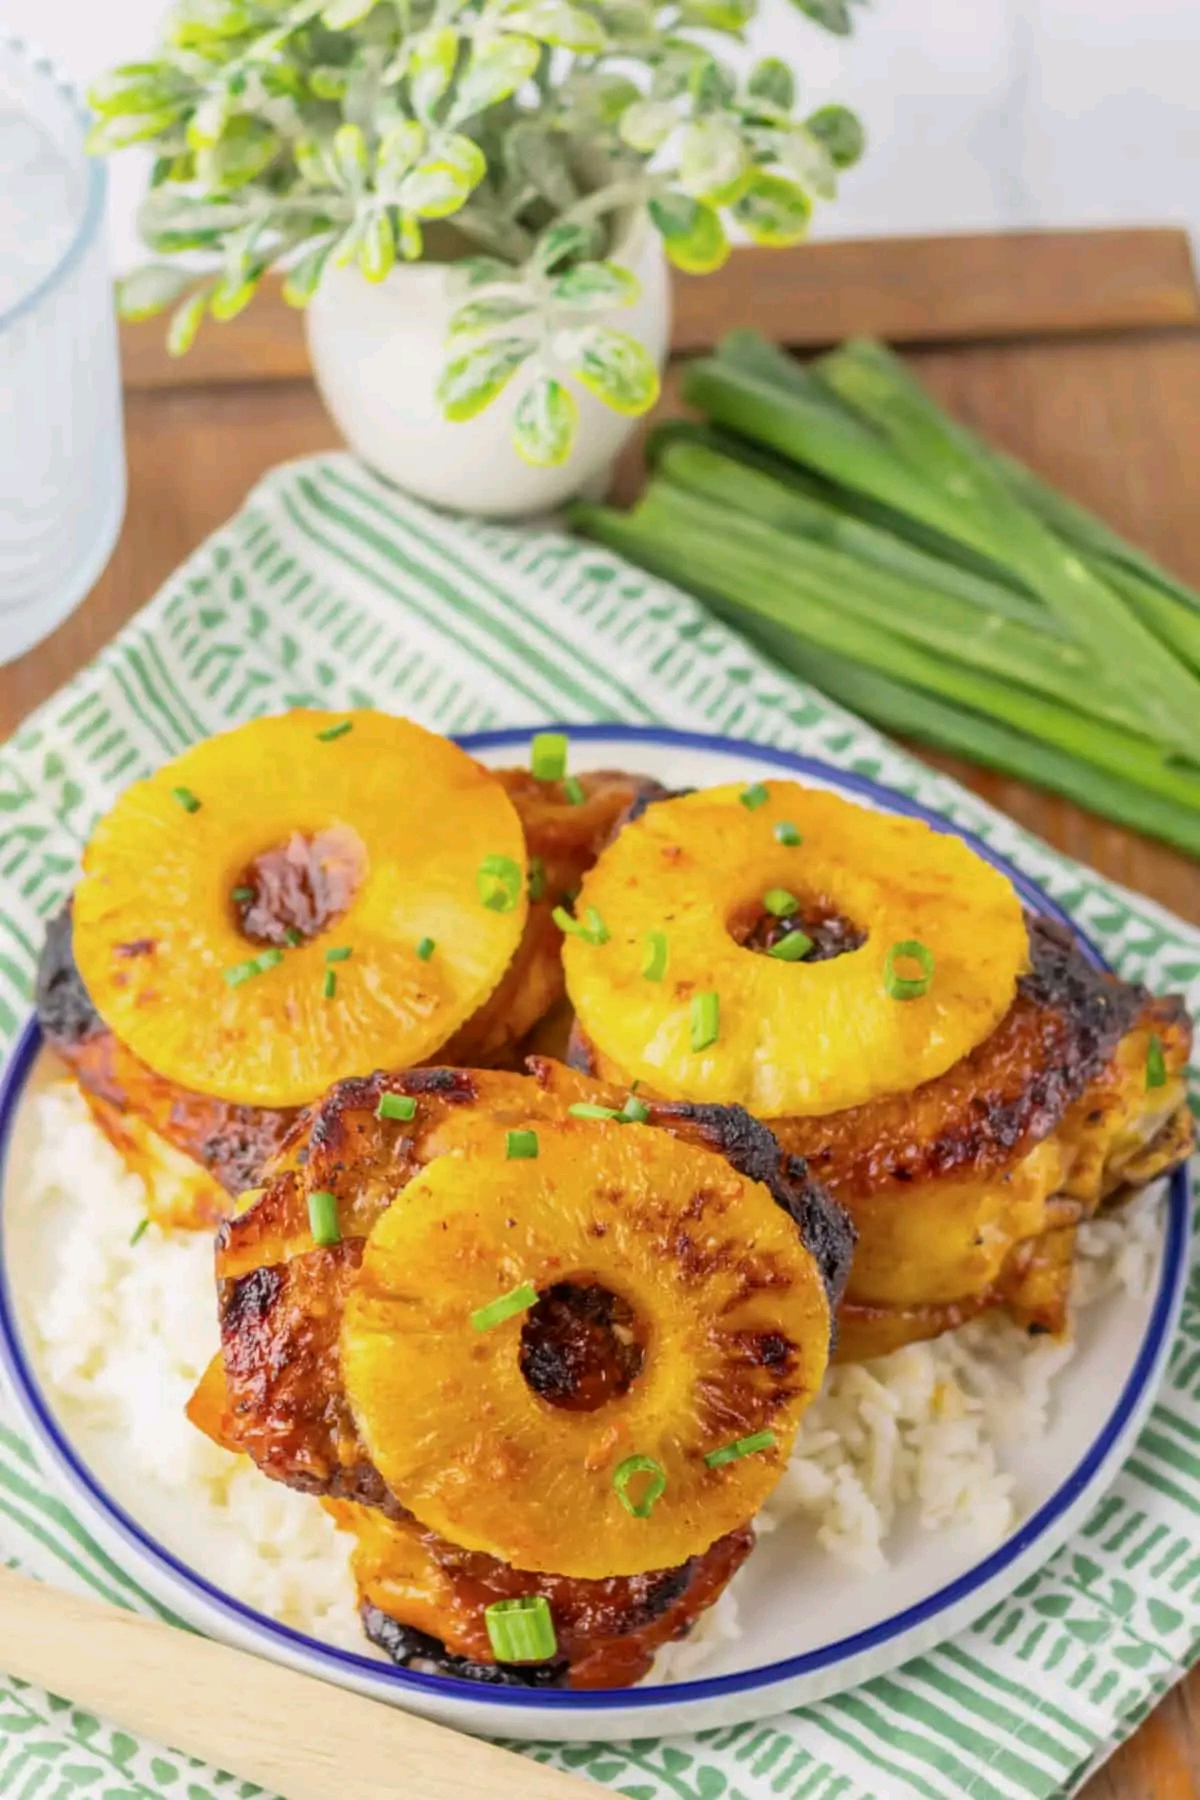
Final Thoughts
This Slow-Cooker Huli Huli Chicken is more than just a meal; it’s a sensory trip to the islands. The combination of the tender meat, the charred pineapple, and the sprinkle of fresh green onions on top creates a dish that looks as good as it tastes. Whether you’re hosting a luau-themed party or just want to brighten up a Tuesday night, this recipe is a guaranteed crowd-pleaser.
Don’t forget to garnish with extra sliced green onions and sesame seeds for that final professional touch!