The Home Kitchen Masterclass: Technique, Safety, and the Art of Comfort Food
Cooking is more than just following steps; it is the study of chemistry, heat, and flavor. Whether you are searing the perfect shrimp or constructing the ultimate comfort meal, the difference between a “good” dish and a “great” one lies in the details.
In this guide, we will explore the professional techniques behind high-level home cooking. However, because the culinary world is unfortunately filled with dangerous misinformation, we must begin with a vital safety briefing.
⚠️ Critical Safety Advisory
As your collaborator, it is my priority to ensure your well-being. Several trends circulating online, some of which appear in the materials provided, are dangerous.
1. The Dangers of “DIY” Skincare
One of the provided images suggests mixing toothpaste and lemon for use on skin or heels. Do not do this.
- Chemical Burns: Lemon juice is highly acidic and photosensitizing. When applied to the skin and exposed to sunlight, it can trigger a reaction called phytophotodermatitis, leading to severe chemical burns, blistering, and permanent skin discoloration.
- Barrier Damage: Toothpaste is formulated for tooth enamel—the hardest substance in the body—not human skin. Its surfactants (such as Sodium Lauryl Sulfate) are designed to strip debris from teeth and will destroy your skin’s natural lipid barrier, causing extreme dryness and contact dermatitis.
2. The Botulism Risk of Homemade Infusions
The image depicting garlic and cloves being submerged in oil illustrates a process that requires extreme caution.
- The Science: Garlic is a low-acid vegetable that grows in the soil. When submerged in oil, it creates an anaerobic (oxygen-free) environment. If stored at room temperature, this mixture is the ideal breeding ground for Clostridium botulinum, the bacteria responsible for botulism—a potentially fatal form of food poisoning.
- The Rule: If you make garlic-infused oil, it must be kept in the refrigerator and consumed within a few days. It is not shelf-stable.
3. Medical Misinformation
The claim that a specific juice made of carrots, oranges, and bananas can cure medical conditions like cataracts, glaucoma, migraines, or memory problems is medically unfounded.
- The Reality: While a balanced diet rich in fruits and vegetables supports overall health, no “miracle juice” can reverse complex neurological or optical conditions. Please seek professional medical care for these issues.
Part I: The Masterclass – Garlic Butter Shrimp Pasta
The Garlic Butter Shrimp Pasta is a dish that relies on the principle of emulsification. When you emulsify fat (butter and olive oil) with starch (pasta water), you create a luxurious, glossy sauce that clings to the noodles rather than sliding off.
The Science of the Emulsion
The secret to a restaurant-quality pasta is not a secret ingredient; it is the “pasta water.” The water in which you boil your pasta is loaded with starch. When you toss the pasta in your sauce, this starch acts as a binding agent that links the butter fat to the water, resulting in a creamy coating.
The Recipe: Garlic Butter Shrimp Linguine
Prep time: 15 minutes | Cook time: 15 minutes | Servings: 4
Ingredients
- 1 lb (450g) Large Shrimp, peeled and deveined.
- 12 oz (340g) Linguine or spaghetti.
- 4 tbsp Unsalted Butter (high quality).
- 2 tbsp Extra Virgin Olive Oil.
- 6 Cloves Fresh Garlic, minced.
- 1/2 cup Dry White Wine (or vegetable broth).
- 1/4 tsp Red Pepper Flakes.
- 1 tbsp Fresh Lemon Juice (plus zest).
- 1/4 cup Fresh Italian Parsley, chopped.
- Reserved starchy pasta water.
Instructions
- Boil the Pasta: Salt your water heavily. Cook the linguine until al dente. Crucial: Before draining, scoop out 1 cup of the cloudy pasta water.
- Sear the Shrimp: Pat the shrimp dry. Season with salt/pepper. Heat the olive oil in a heavy skillet until shimmering. Add the shrimp in a single layer—do not crowd the pan. Sear for 2 minutes per side until just opaque. Remove the shrimp to a plate.
- Aromatics: Add 1 tbsp of butter to the same pan. Add the garlic and red pepper flakes. Sauté for 60 seconds. Do not let the garlic brown; it should just be fragrant.
- Deglaze: Pour in the white wine. Use a wooden spoon to scrape up all the browned bits (fond) from the bottom. Reduce the liquid by half.
- The Emulsion: Add the remaining butter and lemon juice. Whisk until the sauce looks glossy.
- The Marriage: Add the cooked pasta to the pan. Add 1/2 cup of the reserved pasta water. Toss vigorously with tongs for 1 minute. The sauce will thicken and coat the noodles.
- Finish: Return the shrimp to the pan. Toss briefly to heat through. Stir in the parsley and serve.
Part II: The Comfort Food Menu
Comfort food is about texture contrast—crispy, salty, and cheesy. Let’s break down how to replicate the other dishes shown in your materials.
1. The Slider Masterclass
Sliders are about the ratio of bread to filling. The common mistake is using large buns.
- The Build: Use soft, sweet King’s Hawaiian-style rolls. Slice the entire slab of rolls horizontally, leaving them connected.
- The Filling: Layer your ham and cheese. Brush the tops with a mixture of melted butter, dried oregano, garlic powder, and a dash of Worcestershire sauce.
- The Bake: Cover with foil and bake at 350°F (175°C) for 15 minutes, then uncover for 5 minutes to crisp the tops.
2. Loaded Fries: The “Restaurant Style” Secret
Loaded fries fail when they get soggy. The solution is the “topping strategy.”
- The Fries: Use a double-fry method. Fry once at 325°F (160°C) to cook through, then again at 375°F (190°C) for the crunch.
- The Toppings: Do not add the tomatoes and lettuce until the very last second.
- The Sauce: The sauce in your image is likely a “Special Sauce” base: Mayonnaise, a splash of pickle brine, ketchup, and smoked paprika.
3. The Breakfast Sandwich
The key to a breakfast sandwich is the “fold” of the egg.
- The Egg: Don’t scramble the eggs completely. Whisk them and cook slowly in a buttered pan. As they set, fold them like a crepe. This creates layers of texture rather than a rubbery puck.
- The Cheese: Use a melty cheese like American or Muenster. Place it on the bread while the bread is still hot from the pan so it begins to soften before the sandwich is closed.
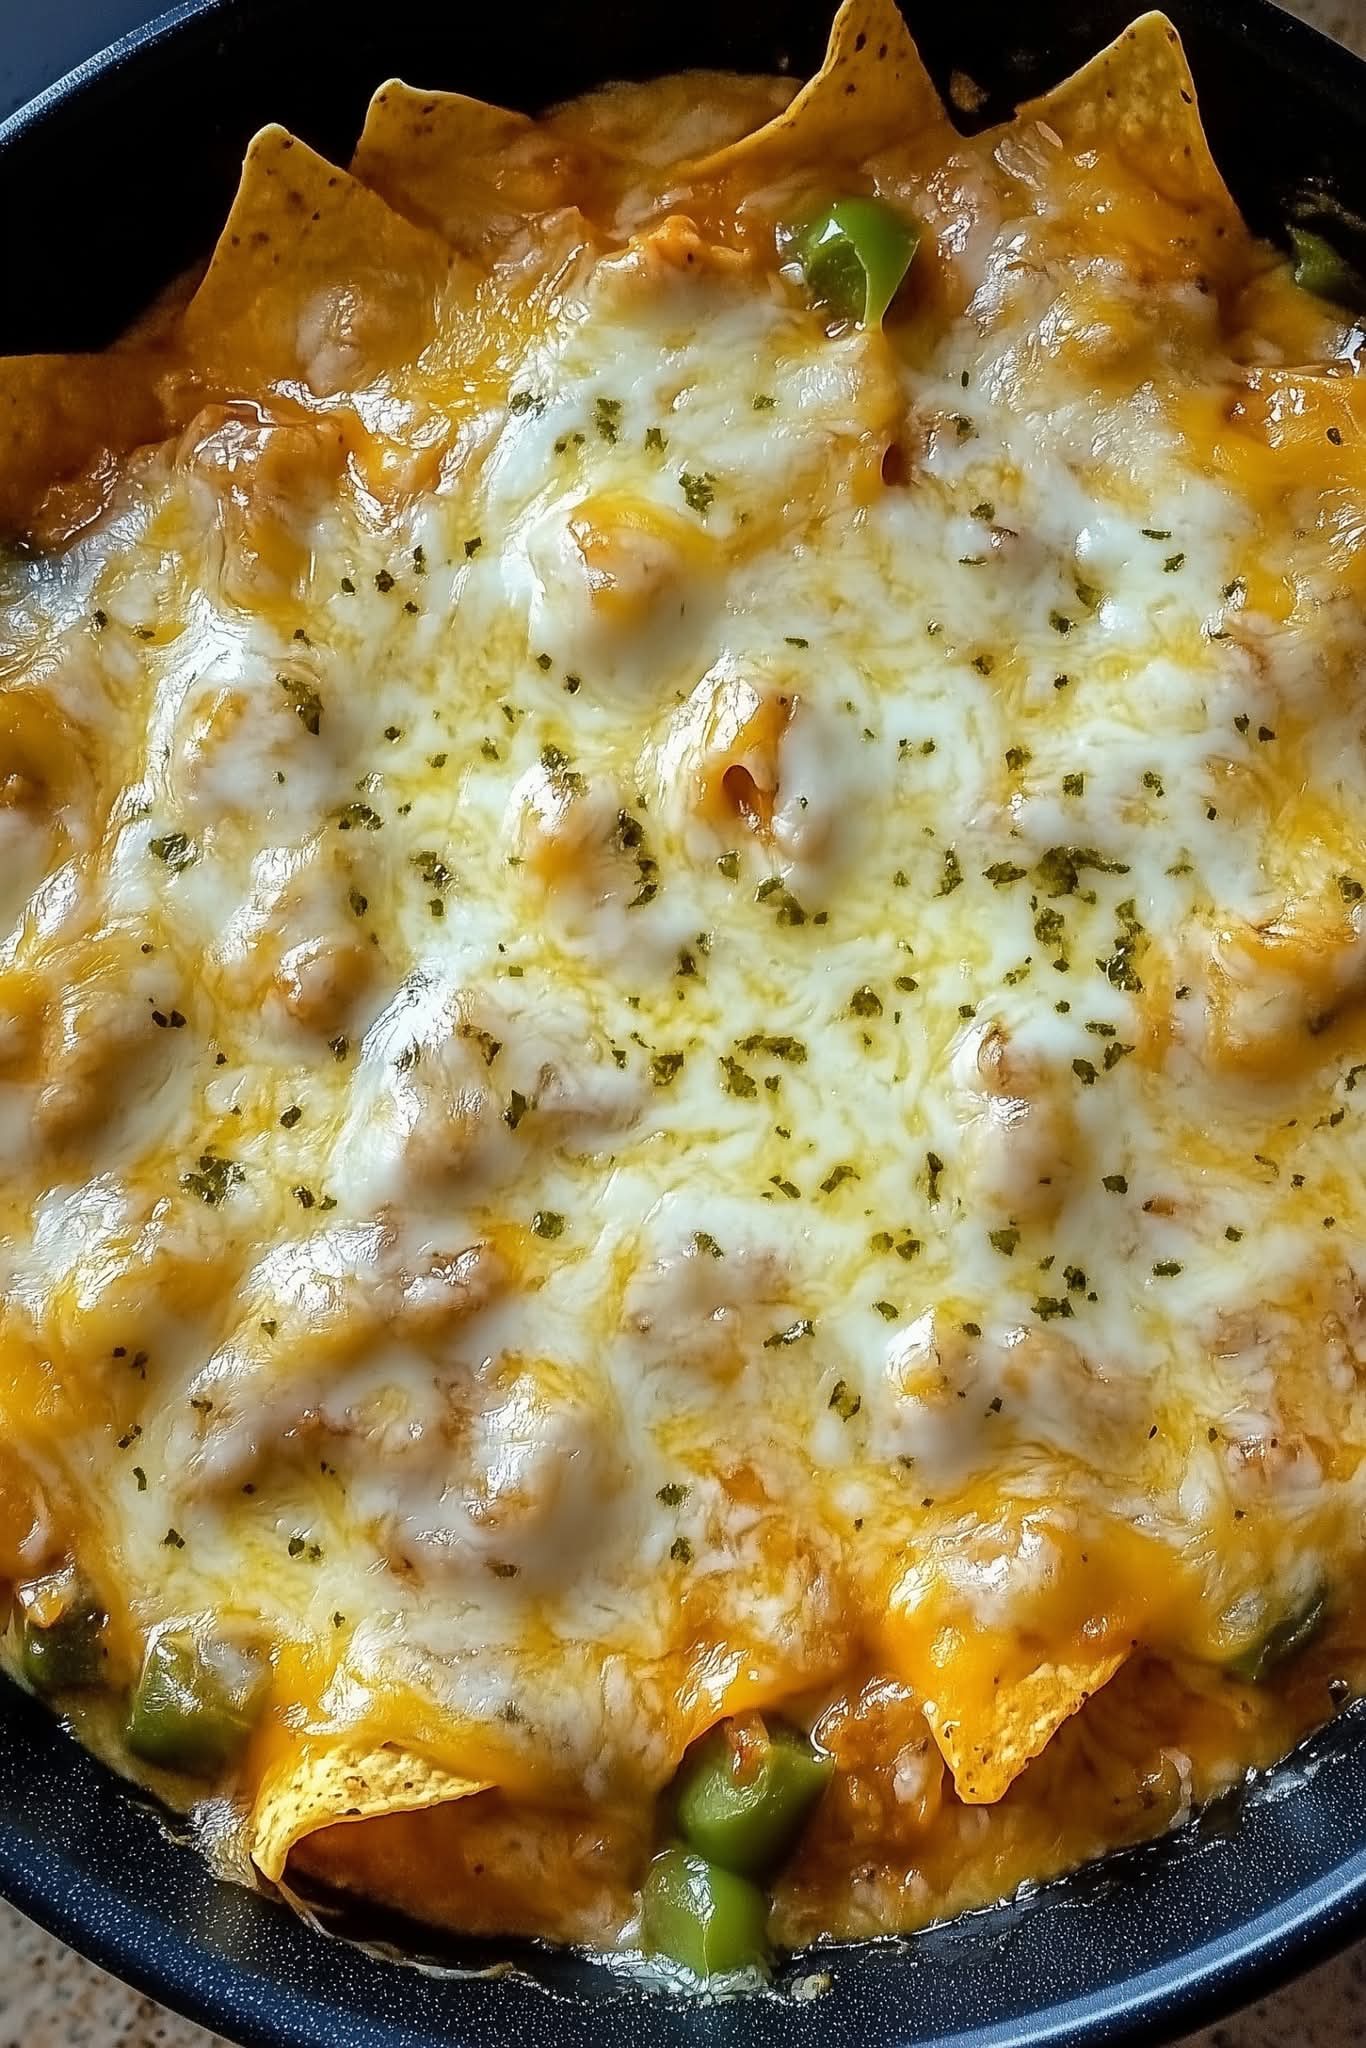
4. Nachos: The Broiler Method
If your nachos are soggy, you are baking them too long at too low a temperature.
- The Prep: Spread chips in a single layer on a baking sheet.
- The Cheese: Use freshly grated cheese (not bagged, which contains anti-caking agents that prevent smooth melting).
- The Finish: Broil the nachos for 2–4 minutes—just long enough for the cheese to bubble and brown. Keep a close watch; this happens fast.
Part III: The Perfect Beverage Pairing
Since you included an image of spicy, rimmed cocktails, let’s discuss the “Michelada” or “Bloody Mary” style rim.
- The Rim: This is typically a mix of Tajín (chili-lime salt) or a blend of smoked paprika, salt, and cayenne.
- The Technique: Run a lime wedge around the rim of the glass. Dip the glass into the spice blend. Do not put the spice inside the drink; the point is the flavor hit when you take a sip.
- The Balance: If the drink is too thick (like a tomato-based cocktail), add a splash of pickle juice or lemon juice to brighten the acidity and cut through the richness of the comfort foods described above.
Part IV: Culinary Philosophy for the Home Chef
Cooking is a series of choices. Every time you step into the kitchen, you are deciding the quality of your fuel and the nature of your experience.
Mise en Place (Everything in its place)
The most common reason home cooks feel stressed is that they are chopping while things are burning. The recipes above—the pasta, the sliders, the nachos—all rely on “Mise en Place.”
- Measure your spices.
- Chop your onions, garlic, and parsley.
- Have your cooking oil and serving plates ready.
When your prep is done before you start the heat, cooking becomes a meditative process rather than a frantic race.
Respecting the Ingredients
We have discussed the shrimp, the bread, and the potatoes. Each of these represents a different texture profile.
- Protein (Shrimp): Requires high heat and short timing.
- Carbohydrates (Pasta/Potatoes/Bread): Require careful moisture control to avoid sogginess.
- Acids (Lemon/Lime/Vinegar): Used to “brighten” the palate and cut through the fats of cheese and butter.
The Role of Salt
Salt is not just for “saltiness.” It is a flavor amplifier.
- When boiling pasta, the water should taste like the ocean. This is the only time you can season the inside of the noodle.
- When searing meat or shrimp, salt pulls out moisture to create a better crust.
- When using cheese (like on your nachos or sliders), be careful with adding extra salt, as the cheese is already quite salty. Taste as you go.
Conclusion: Developing Your Culinary Instinct
By following these techniques, you move away from needing “recipes” and toward understanding “systems.” Once you understand how to emulsify a sauce, you can make a hundred different pasta dishes. Once you understand how to layer a slider or melt cheese on a nacho, you can host any party with confidence.
Most importantly, keep the kitchen safe. The internet will always offer “hacks” involving toothpaste or miracle cures, but true cooking—the kind that brings friends together and nourishes the body—is grounded in science, technique, and quality ingredients.
Practice these dishes, respect the heat, and enjoy the process of creating something delicious from scratch. Your home kitchen is the most important laboratory in your house; treat it with the respect it deserves.