Homemade Vanilla Soft Serve Ice Cream

Introduction
There’s something magical about soft serve — that smooth, airy swirl of cold vanilla that instantly transports you to a happy place. Whether it’s at a fairground, beach boardwalk, or drive-thru window, soft serve ice cream has an iconic place in dessert culture. But what if you could make it at home — no machine required? This recipe brings that creamy, fluffy indulgence right to your freezer. It’s perfect for summer, birthdays, or any day that needs a scoop of joy.
History of Soft Serve Ice Cream
Soft serve ice cream made its big debut in the 1930s in the United States. While its invention is a bit disputed, both Dairy Queen and Carvel claim to have pioneered the method. Unlike traditional hard-packed ice cream, soft serve is made with less milk fat (3-6%), more air (overrun), and served at a warmer temperature (about 21°F/-6°C), which gives it that silky texture and lightness.
Over the decades, soft serve evolved with different flavors and machines, becoming a staple in diners, trucks, and fast-food chains. Today, thanks to food science and clever hacks, you can recreate the real deal at home.
Formation (How It Works)
Soft serve’s signature texture comes from three key components:
- Air incorporation (overrun): This gives it a light, whipped texture.
- Fat content: Enough for creaminess, but not too much to weigh it down.
- Temperature: It’s not frozen solid like hard ice cream — it’s semi-frozen, which makes it perfect for that iconic swirl.
In our homemade version, we mimic this using whipped cream, condensed milk, and optional stabilizers — and yes, you can do it without an ice cream maker!
ingredient
Basic Ingredients:
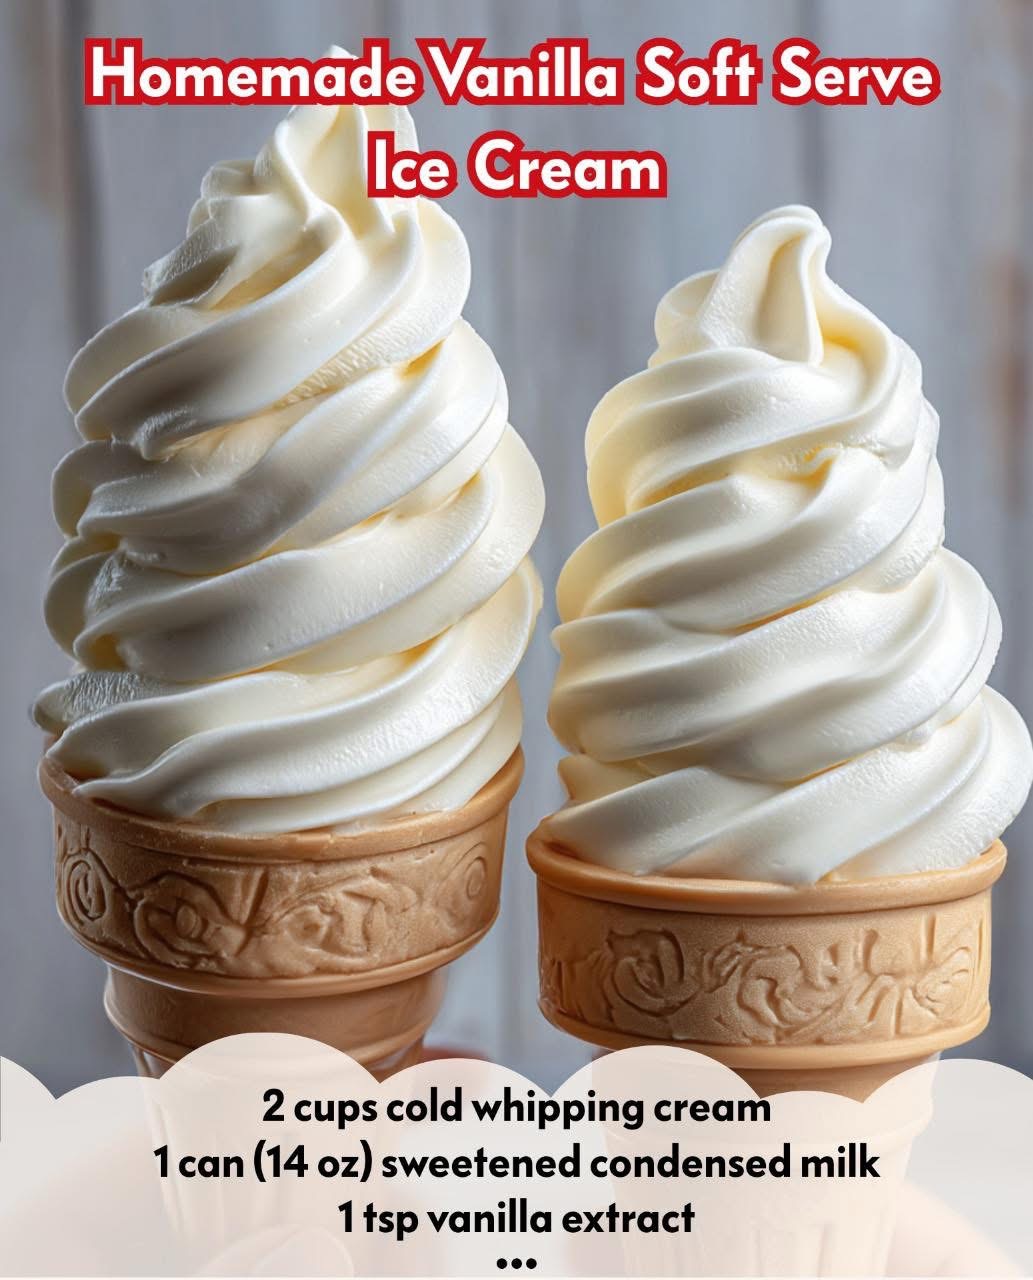
- 2 cups heavy whipping cream (chilled)
- 1 (14-ounce) can sweetened condensed milk (cold)
- 1 tbsp pure vanilla extract
- Pinch of salt
Optional (For smoother texture):
- 1 tbsp corn syrup or glucose (helps with scoopability)
- 1 tsp unflavored gelatin or 1/2 tsp xanthan gum (helps stabilize and improve texture)
Instructions
Step 1: Whip the Cream
In a large chilled bowl, whip the heavy cream using an electric mixer on medium-high speed until stiff peaks form. Be careful not to overwhip — it should hold shape but still look creamy.
Step 2: Mix the Base
In another bowl, combine the cold sweetened condensed milk, vanilla extract, salt, and any optional ingredients (gelatin or corn syrup). Stir until smooth.
Step 3: Fold Together
Gently fold the whipped cream into the condensed milk mixture in batches. Use a spatula and fold carefully to keep the air in. The mixture should be light and airy.
Step 4: Freeze It Right
Transfer to a piping bag or zip-top bag with a large star tip (if you want to swirl it). Freeze for 3-4 hours. For the best soft-serve consistency, freeze for 3 hours only, then pipe and serve!
Step 5: Serve
Scoop or swirl into bowls or cones. Top with sprinkles, syrup, or crushed cookies — go wild!
Methods
Method 1: No-Machine Soft Serve
The method described above is the easiest and doesn’t need an ice cream machine.
Method 2: With Ice Cream Maker
If you have an ice cream machine:
- Mix all ingredients (skip whipping the cream).
- Churn according to your machine’s instructions.
- Serve soft or freeze for 1 hour more for a firmer texture.
Method 3: Blender Hack
Blend the mixture in a high-powered blender until fluffy, freeze in a loaf pan, then scoop or pipe.
Benefits
- No preservatives or artificial additives
- Cost-effective and makes a large batch
- Customizable with your favorite flavors (add cocoa, fruit puree, etc.)
- Fun to make with kids
- Naturally gluten-free
- Satisfaction of homemade indulgence!
Lovers of Soft Serve
Soft serve has a loyal fanbase all over the world. Lovers include:
- Kids who adore it for its soft texture and sweet flavor
- Nostalgic adults who grew up with it from ice cream trucks
- Health-conscious dessert lovers who appreciate lower-fat versions
- Foodies who enjoy customizing it with wild toppings
- Couples on date night, swirling one cone together
Nutrition (Per 1/2 cup serving)
| Nutrient | Approximate Amount |
|---|---|
| Calories | 230 kcal |
| Total Fat | 14g |
| Saturated Fat | 9g |
| Carbohydrates | 23g |
| Sugars | 22g |
| Protein | 3g |
| Fiber | 0g |
| Calcium | 10% DV |
Note: This is a basic estimate and can vary based on ingredients used.
Homemade vanilla soft serve is more than just a dessert — it’s a nostalgic experience made from scratch. It captures the joy of summer in every bite, whether enjoyed in a cone on your porch or shared with loved ones after dinner. With just a few simple ingredients, you can create that beloved smooth swirl right from your kitchen.
Lovers Again
Lovers of this recipe will include:
- Busy parents who want a no-fuss dessert
- Ice cream connoisseurs looking for homemade alternatives
- People with dietary needs (you can swap with coconut milk or low-sugar options)
- You, because nothing says “I love myself” like a bowl of homemade soft serve.
Conclusion
Soft serve has charmed generations — and now, you hold the power to make it yourself. From the first silky swirl to the last sweet spoonful, homemade vanilla soft serve brings comfort, creativity, and cool refreshment in every bite. So grab a spoon (or cone), and swirl yourself some happiness. You deserve it.