The Ultimate Raspberry Jam Pinwheel Cookies: A Masterclass in Buttery, Spiral Perfection
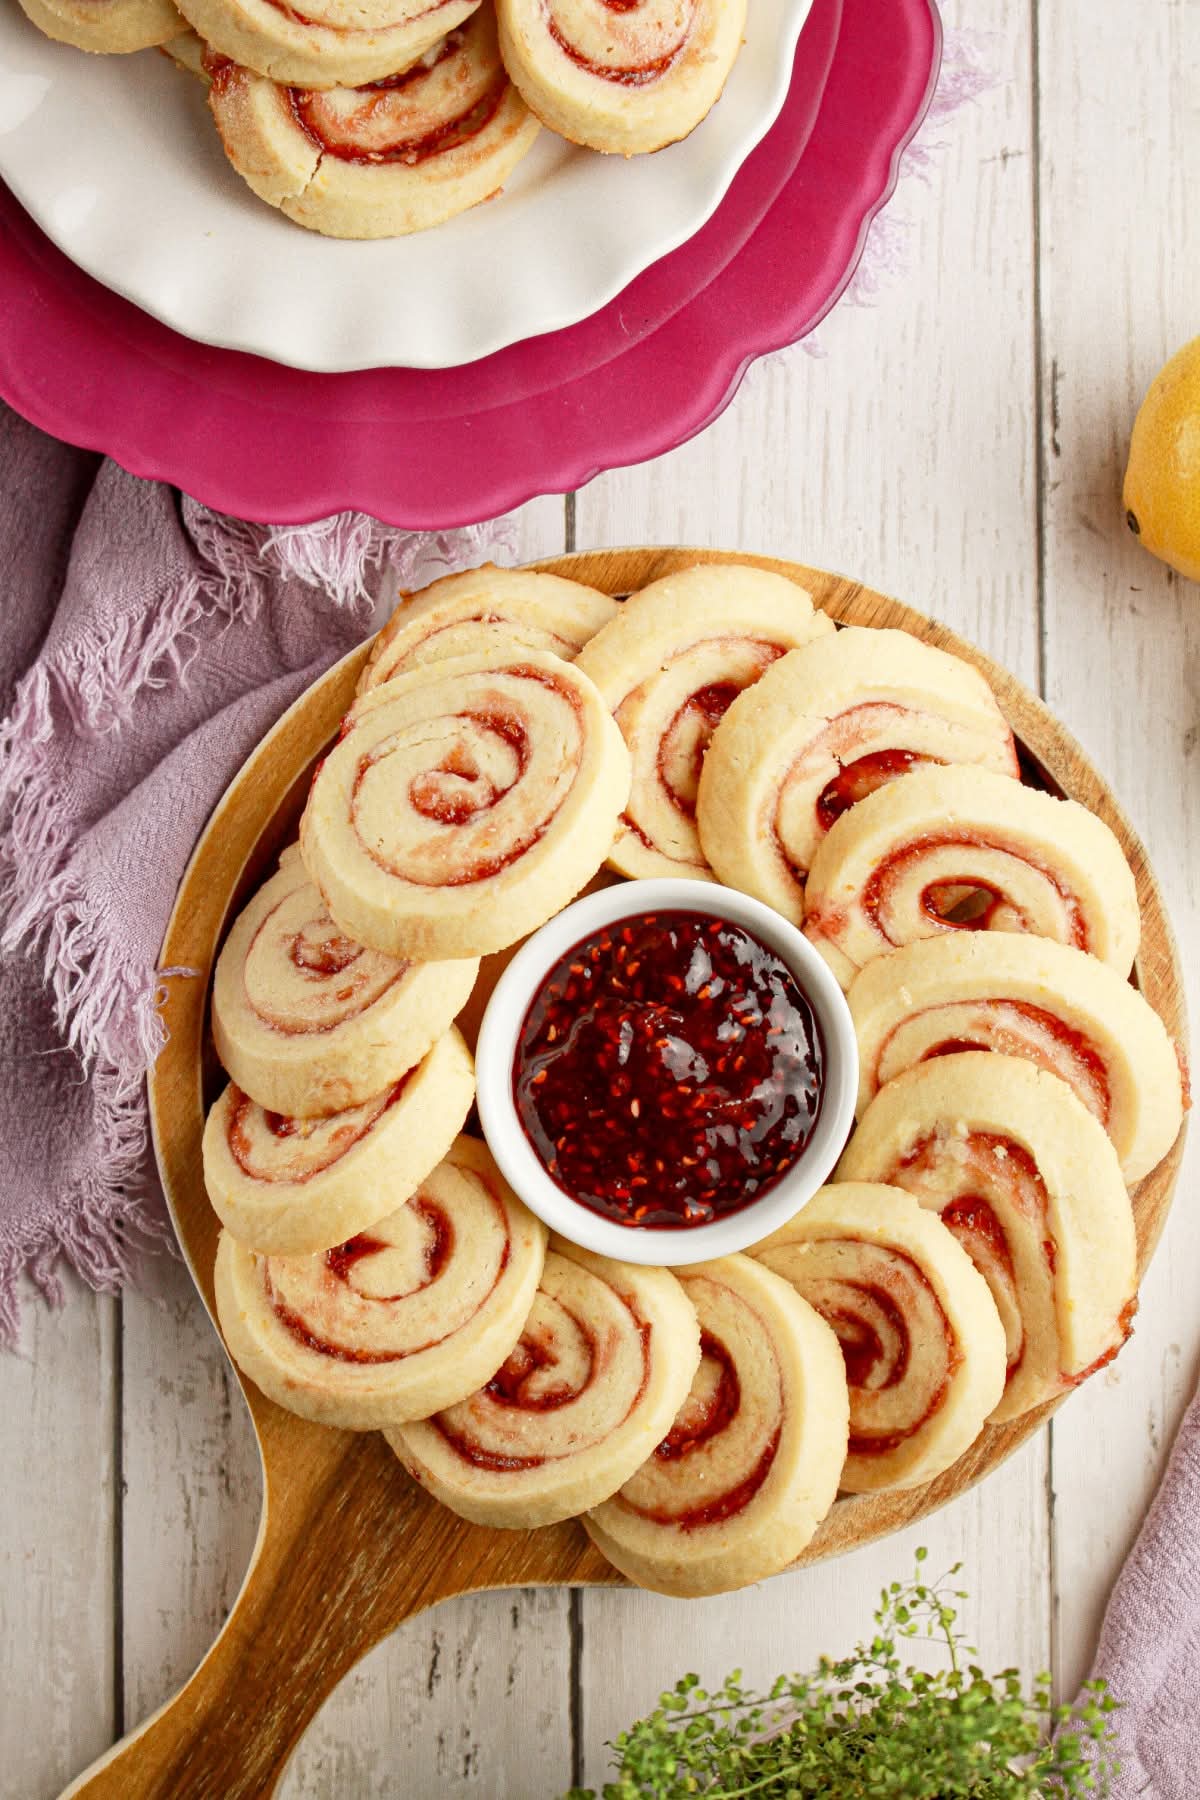
There is something undeniably nostalgic about a pinwheel cookie. They are the perfect marriage of texture and taste: a crisp, buttery shortbread outer layer that yields to a sweet, slightly tart, jam-filled center. Visually, they are a showstopper—the distinct red-and-white spiral looks intricate, making them the perfect centerpiece for holiday trays, tea parties, or simple afternoon snacking.
But don’t let their sophisticated appearance intimidate you. While they look like they belong in a high-end French bakery, these cookies are surprisingly achievable in a home kitchen. With a few professional tips on dough temperature and rolling techniques, you can master these classic treats.
In this deep-dive guide, we will explore not just the recipe, but the science of the perfect pinwheel cookie. We’ll cover how to prevent the dreaded “cookie spread,” how to achieve the perfect spiral, and how to troubleshoot common issues. Let’s get baking.
Why You Will Love This Recipe
- The Texture Contrast: It hits the sweet spot between a tender, melt-in-your-mouth shortbread and a chewy, jammy center.
- Aesthetic Appeal: These are high-impact cookies. They look beautiful on a serving platter and make for excellent edible gifts.
- Make-Ahead Friendly: You can make the dough logs days in advance, keep them in the freezer, and slice-and-bake them whenever you need a fresh batch.
- Versatility: While this recipe features classic raspberry jam, you can customize the flavor profile with ease (we’ll dive into variations later).
The Anatomy of the Perfect Pinwheel
Before we jump into the ingredients, let’s talk about the key component: The Shortbread.
For a pinwheel cookie, we need a dough that is sturdy enough to hold its shape during the rolling process but tender enough to crumble perfectly upon the first bite. Unlike cookies with chemical leaveners (like baking powder or soda), true shortbread relies on the ratio of fat to flour and sugar. The goal is to avoid over-working the gluten, which would result in a tough, bread-like cookie.
Ingredients You Will Need
- Unsalted Butter (Room Temperature): Use high-quality, high-fat European-style butter if possible. The fat content is critical for the flavor and the tender crumb.
- Granulated Sugar: Provides the structure and the sweetness.
- Large Egg: Acts as the binder.
- Pure Vanilla Extract: Adds depth. Consider adding a splash of almond extract for a marzipan-like nuance.
- All-Purpose Flour: Use a standard AP flour. You do not need cake flour here; we want a little bit of structure.
- Salt: Essential to balance the sugar and highlight the butter.
- Raspberry Jam/Preserves: Look for high-fruit-content jams. If your jam has large fruit chunks, consider pulsing it in a food processor or pressing it through a sieve for a smoother spread.
Detailed Step-by-Step Instructions
Phase 1: Preparing the Dough
- Creaming: In a large mixing bowl (or stand mixer fitted with the paddle attachment), beat the room-temperature butter and granulated sugar together. You aren’t looking for a light, fluffy airy texture like a sponge cake—just cream them until smooth and well-combined.
- Binding: Add the egg and the vanilla extract. Mix until the egg is fully emulsified into the butter mixture. If the mixture looks a little curdled, don’t panic; it will come together once the flour is added.
- Dry Ingredients: Whisk the flour and salt together in a separate bowl. Gradually add this to your wet ingredients on low speed. Mix only until the flour streaks disappear. Stop mixing immediately. Over-mixing at this stage creates gluten, which will make your cookies tough rather than buttery.
- Chilling: Divide the dough into two equal portions. Wrap each in plastic wrap and pat them into rectangular blocks. Chill for at least 30 to 45 minutes. This firms up the butter, making the dough much easier to handle.
Phase 2: The Roll and Spread
- Rolling: Place one block of dough between two large sheets of parchment paper. This prevents the dough from sticking to your rolling pin or counter without requiring excessive flour, which can dry out the dough. Roll it out into a rectangle, roughly 1/8 to 1/4 inch thick.
- Jam Application: Peel off the top layer of parchment. Spread your raspberry jam evenly over the dough. Crucial Tip: Leave a small 1/2-inch border of clean dough along the long edge that you will finish rolling on. This helps seal the log so the jam doesn’t leak out during baking.
- The Roll: Using the bottom parchment paper to help lift, begin rolling the dough tightly away from you. The tighter the roll, the more distinct the “pinwheel” spiral will be. Once rolled, seal the seam by pinching it gently. Wrap the log tightly in plastic wrap.
- The Second Chill: This is the most important step! Place your logs in the freezer for at least 30 minutes, or the refrigerator for 2 hours. Chilling firms the log so that it maintains a perfect circular shape when sliced. If the dough is too soft, your pinwheels will turn into ovals.
Phase 3: Slicing and Baking
- Preheat: Preheat your oven to 350°F (175°C). Line two large baking sheets with parchment paper.
- Slicing: Remove the log from the fridge. Use a very sharp, thin knife (a serrated knife often tears the dough). Slice the log into 1/2-inch thick rounds. If the dough becomes too soft while slicing, pop the log back into the freezer for 10 minutes.
- Baking: Place the rounds on the baking sheet, spaced about 2 inches apart. Bake for 10–12 minutes, or until the edges are just barely golden. The centers should remain relatively pale to keep that buttery texture.
- Cooling: Allow the cookies to cool on the baking sheet for 5 minutes before transferring them to a wire rack. They are fragile when hot!
Troubleshooting: Why Did My Cookies…?
Even experienced bakers run into issues with rolled cookies. Here is how to fix them:
- “The dough broke while I was rolling it.” Your dough was likely too cold, or the protein content was too high. Let the dough sit at room temperature for 5-10 minutes to become more pliable before rolling.
- “The jam leaked everywhere.” Usually caused by too much jam or not chilling the log long enough before slicing. Ensure you leave that clean border at the edge when spreading the jam.
- “They turned into flat puddles.” The butter got too warm. If you find your dough getting soft while working, put it back in the fridge. Never put raw, soft dough directly into a hot oven.
- “The spiral isn’t tight.” This happens when the dough isn’t rolled tightly enough or the layers aren’t pressed together. Use the parchment paper as a guide to “tighten” the roll as you go.
Flavor Variations & Creative Twists
Once you have mastered the technique, the flavor possibilities are endless.
- The Citrus Twist: Add 1 tablespoon of freshly grated lemon or orange zest to the dough. The bright citrus notes pair beautifully with raspberry or strawberry jam.
- The Almond Classic: Add 1/2 teaspoon of almond extract to the dough and swap the fruit jam for apricot preserves.
- Chocolate Lovers: Swap 1/4 cup of the flour for high-quality cocoa powder to make a chocolate dough. Spread it with a hazelnut spread or a thick dark cherry jam.
- The Spiced Pinwheel: Add 1 teaspoon of ground cinnamon or cardamom to the flour mixture. This is spectacular with apple butter or plum jam.
Storage and Longevity
These cookies are shelf-stable for a short time, but because of the fruit jam, they can soften if left out for too long.
- Countertop: Store in an airtight container for up to 5 days. If you live in a humid climate, keep them in the fridge to maintain the crispness.
- Freezing (Baked): Once completely cool, you can freeze these cookies for up to 2 months. Layer them with parchment paper in a freezer-safe container.
- Freezing (Unbaked): This is the baker’s secret! Freeze the dough logs wrapped in plastic wrap and foil for up to 3 months. When the craving strikes, pull a log out, let it thaw slightly for 10 minutes, slice, and bake. You can have fresh cookies in under 20 minutes.
Serving Suggestions
How should you serve these beautiful cookies?
- Tea Time: These are the quintessential “tea biscuit.” Serve with Earl Grey, English Breakfast, or a floral chamomile.
- Dessert Charcuterie: Place these on a board with fresh berries, some dark chocolate shavings, and a small bowl of extra jam or whipped cream for dipping.
- Gifting: Stack them in a clear cellophane bag tied with a ribbon. Because they are durable once baked, they travel exceptionally well.
Frequently Asked Questions (FAQ)
Can I use salted butter?
You can, but reduce the added salt in the recipe by half. Unsalted is preferred because it gives you total control over the flavor profile.
My jam is very runny. Will it work?
Runny jam is the enemy of a pinwheel cookie. If your jam is loose, simmer it in a small saucepan with a teaspoon of cornstarch over low heat for 5 minutes, then let it cool completely. This will thicken it into a spreadable paste.
Why are my cookies hard?
Hard cookies usually indicate the dough was overworked or baked too long. Keep the oven temperature accurate (use an oven thermometer if necessary) and pull them out as soon as the edges look set.
Can I use gluten-free flour?
Yes, use a high-quality “measure-for-measure” or “1-to-1” gluten-free flour blend. Note that GF dough is often more fragile, so handle it gently.
Final Thoughts
The pinwheel cookie is a testament to the idea that simple ingredients, when treated with care and technique, can create something extraordinary. It’s about the patience of chilling the dough, the precision of the rolling, and the joy of seeing that perfect, jam-filled spiral when you take that first bite.
Whether you are baking these for a quiet Sunday morning or a massive holiday gathering, enjoy the process. There is a quiet, meditative quality to rolling that dough, and the reward—a buttery, sweet, beautiful cookie—is always worth the effort. Happy baking!