
Cherry Cheesecake Jars – A Sweet Love Story in a Jar
Imagine digging into a creamy, dreamy cheesecake layered with tart cherry topping and buttery graham cracker crust – all beautifully served in a cute jar. These Cherry Cheesecake Jars are not just desserts, they’re portable happiness! And guess what? They’re only 2 points each (WW-friendly!), so you can indulge without guilt.
History of Cheesecake
Cheesecake has ancient roots – dating back to 2,000 B.C. in Greece. Originally served to Olympic athletes, this dessert was believed to provide strength. The modern version we know today evolved through Roman times and into European and American kitchens. The no-bake cheesecake in a jar is a 21st-century twist – no oven needed, just layers of love.
Why People Love It (The Lovers of This Dessert)
Cheesecake lovers, cherry fans, portion-control seekers, busy moms, romantic partners, and picnic-goers — this dessert attracts them all. Whether you’re cuddling on the couch or hosting a brunch, cherry cheesecake jars are the go-to treat.
Benefits
- Portion control – Individual jars help with mindful eating.
- Low-calorie – Only 2 points each!
- No baking needed – Saves time and energy.
- Perfect for events – Picnics, birthdays, potlucks.
- Customizable – Swap cherries for berries or even peaches.
- Kid-friendly – Fun and easy to eat.
- Mood-booster – A spoonful of joy in every bite.
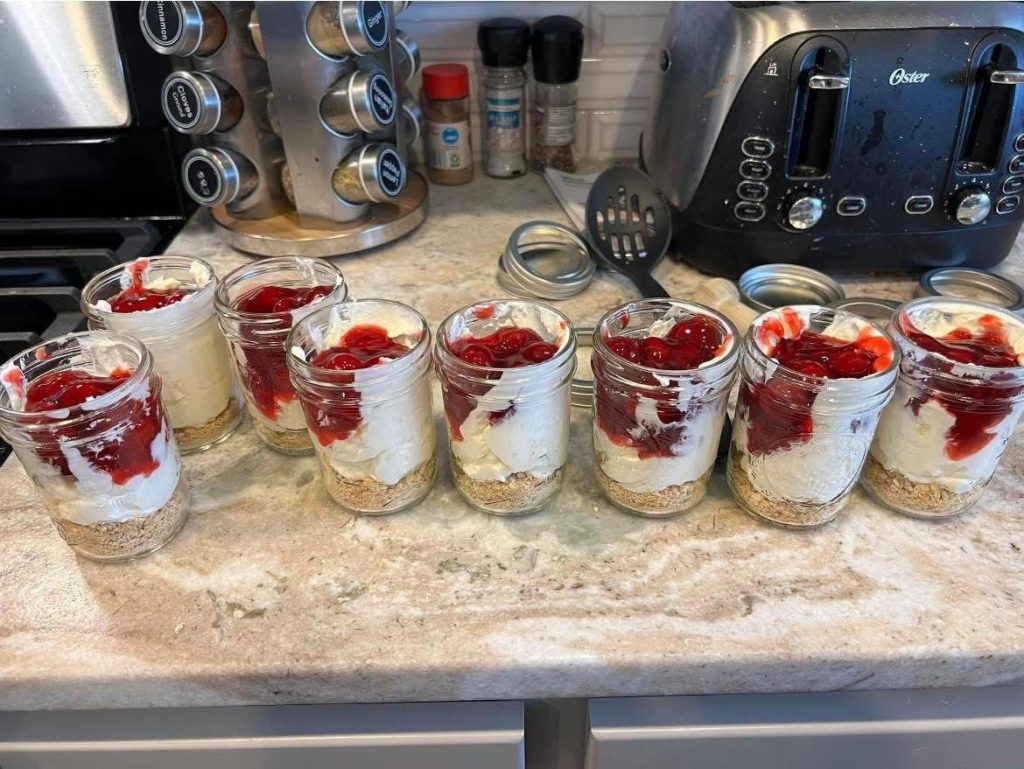
Formation / Structure
Each jar contains:
- Base Layer – Buttery graham cracker crust.
- Middle Layer – Creamy cheesecake mixture.
- Top Layer – Tart cherry topping.
- Bonus – A dollop of whipped cream or fresh cherry if desired.
Ingredients (Makes 8 small jars)
For the crust:
- 1 cup graham cracker crumbs
- 2 tbsp light butter (melted)
- 1 tbsp sugar substitute (e.g., Stevia or monk fruit)
For the cheesecake filling:
- 8 oz light cream cheese (softened)
- 1 cup non-fat Greek yogurt
- 1/2 cup powdered sugar substitute
- 1 tsp vanilla extract
- Zest of 1 lemon (optional)
For the cherry topping:
- 1 cup light cherry pie filling (or homemade cherry compote)
Optional toppings:
- Light whipped cream
- Fresh cherries or mint leaves for garnish
Instructions & Methods
1. Make the crust:
- Combine graham cracker crumbs, melted butter, and sweetener in a bowl.
- Press 1–2 tablespoons into the bottom of each jar using the back of a spoon. Chill in the fridge.
2. Prepare the cheesecake layer:
- In a bowl, beat cream cheese until smooth.
- Add Greek yogurt, sweetener, vanilla, and lemon zest.
- Mix until fluffy and creamy.
3. Assemble the jars:
- Spoon or pipe the cheesecake filling on top of the crust.
- Smooth out the top.
- Add a layer of cherry topping.
4. Chill:
- Cover and refrigerate for at least 2 hours (or overnight) for best texture.
5. Serve:
- Add whipped cream and a fresh cherry if desired.
- Serve chilled and enjoy every bite!
Nutrition (Approximate per jar – WW-friendly)
- Calories: 110–130
- WW Points: 2
- Protein: 5g
- Carbs: 14g
- Fat: 4g
- Sugar: 7g
(Values may vary depending on ingredients used.)
Conclusion
Cherry Cheesecake Jars are more than dessert – they’re a lifestyle. Easy to make, guilt-free to enjoy, and pretty to serve. With just a few simple ingredients and no baking required, they’re perfect for weekday treats, special occasions, or just satisfying your sweet tooth the smart way.
Lovers of Cherry Cheesecake Jars Speak Out
“These are my go-to treats! I make a batch every Sunday.” – Jess, WW member
“Perfect for our date nights. My boyfriend LOVES them.” – Alicia, food blogger
“I brought these to my family picnic – gone in 10 minutes!” – Tina, mom of 3
Recap of Methods (Quick Version)
- Make crust → press into jars.
- Whip cheesecake filling → layer on top.
- Add cherry topping.
- Chill for 2+ hours.
- Serve cold & enjoy!