The Ultimate Guide to Fertilizing Orchids for Vibrant Blooms
Orchids are among the most elegant and exotic plants you can grow at home. However, achieving and maintaining their stunning blooms requires more than just water and light—it requires proper fertilization. This guide covers everything you need to know about fertilizing orchids for optimal growth and blooming, as demonstrated in the image above.
1. Understanding Orchid Nutrition
Orchids are epiphytes, meaning they naturally grow on other plants (not in soil), absorbing nutrients from the air, rain, and debris. In home cultivation, this natural access is limited, making regular fertilization essential. Orchids need three primary macronutrients:
- Nitrogen (N): Promotes leaf and stem growth.
- Phosphorus (P): Encourages root development and flower production.
- Potassium (K): Aids in overall plant health and resistance.
2. Types of Orchid Fertilizers
There are various types of fertilizers you can use for orchids:
a. Balanced Fertilizer (e.g., 20-20-20)
Ideal for general maintenance. Use during active growing seasons.
b. Bloom Booster Fertilizer (e.g., 10-30-20)
Higher phosphorus helps stimulate flowering. Best used when orchid spikes appear.
c. Slow-Release Fertilizers
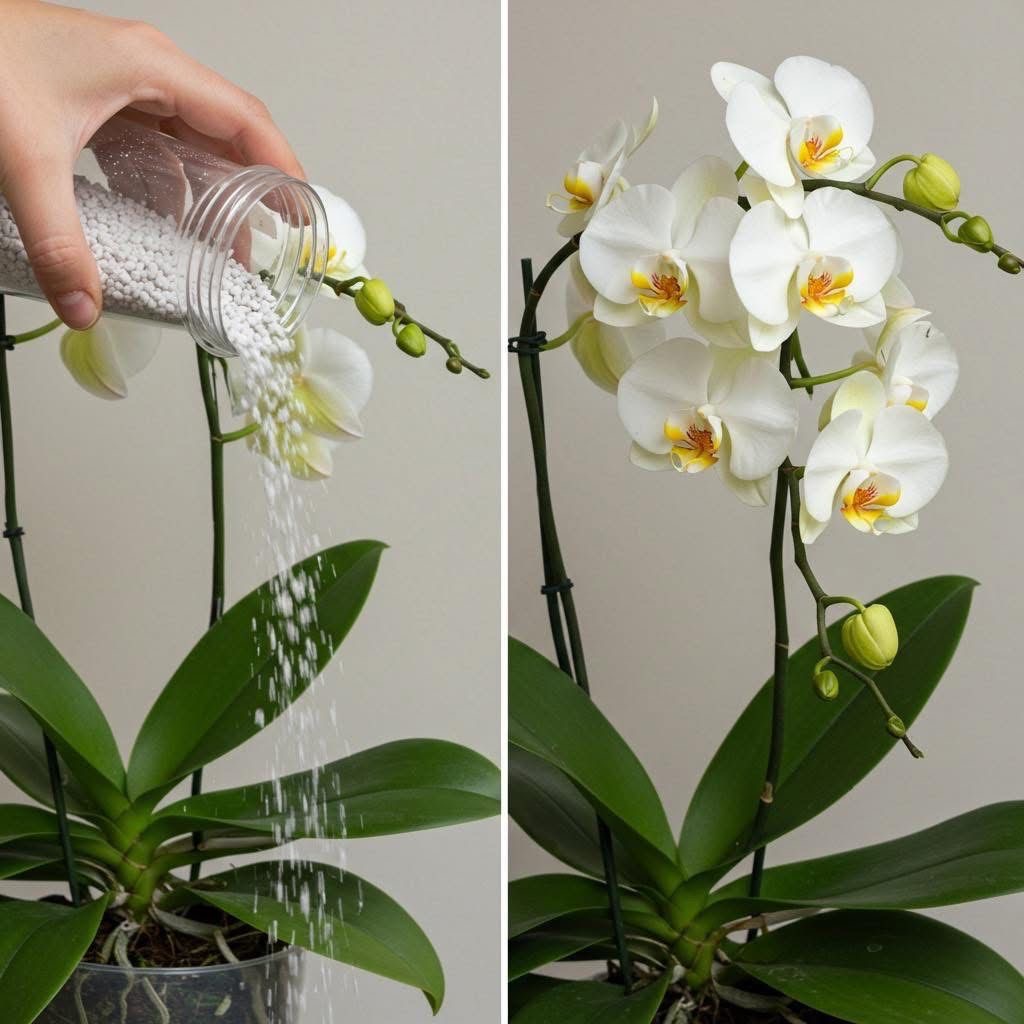
Granules like those in the image slowly release nutrients over time. Convenient but must be used carefully to avoid overfeeding.
d. Organic Fertilizers
Derived from natural sources (e.g., fish emulsion, seaweed). Gentler on roots but slower to act.
3. Methods of Fertilizing Orchids
A. Water-Soluble Fertilizer (Most Common)
- Mix with water according to label instructions (usually ¼ to ½ strength).
- Apply weekly or bi-weekly during active growth.
- Flush the pot with plain water once a month to prevent salt buildup.
B. Slow-Release Pellets or Granules
- Sprinkle lightly on the potting medium (as shown in the image).
- Do not over-apply; excess fertilizer can damage roots.
- Reapply every 2–3 months based on product instructions.
C. Foliar Feeding (Supplementary)
- Spray diluted fertilizer directly onto the leaves.
- Use early in the morning for best absorption.
4. Step-by-Step Fertilizing Instructions
Materials Needed:
- Water-soluble or slow-release orchid fertilizer
- Measuring spoon/cup
- Clean water
- Watering can or sprayer
A. Using Water-Soluble Fertilizer
- Mix fertilizer at ¼ or ½ recommended strength in water.
- Water the orchid with the mixture until it runs through the pot.
- Ensure excess water drains to prevent root rot.
- Repeat weekly during growth; reduce in winter or when dormant.
B. Using Slow-Release Fertilizer (As in Image)
- Lightly sprinkle the recommended amount of pellets on top of the potting medium.
- Avoid direct contact with orchid roots.
- Water normally; the fertilizer will release nutrients slowly.
- Replace every 2–3 months.
5. When to Fertilize Orchids
- Growing Season (Spring–Fall): Fertilize regularly (weekly weakly).
- Flower Spike Formation: Switch to a bloom booster fertilizer.
- Dormant Period (Winter): Reduce or stop fertilizing.
- After Repotting or Blooming: Resume fertilization after 2–3 weeks.
6. Tips for Success
- Always water before fertilizing to avoid root burn.
- Use distilled or rainwater when possible to avoid salt accumulation.
- Monitor for signs of over-fertilizing: brown leaf tips, stunted growth.
- Clean leaves regularly to prevent dust buildup, which can hinder foliar feeding.
- Keep orchids in a well-ventilated, humid environment for best results.
7. Common Mistakes to Avoid
- Using full-strength fertilizer too often.
- Fertilizing dry roots (can cause burns).
- Neglecting seasonal changes in feeding needs.
- Allowing fertilizer salts to build up in the pot.
Conclusion
Proper fertilization is key to cultivating healthy, blooming orchids. Whether you choose water-soluble or slow-release fertilizers, consistency and care are essential. By following the methods outlined above, you can enjoy vibrant, long-lasting blooms like those shown in the photo—an orchid thriving under the right conditions.