The Ultimate Guide to Homemade Sourdough Bread: History, Benefits, and Step-by-Step Recipe
Introduction
There’s something magical about the aroma of freshly baked sourdough bread wafting through a home. Unlike commercial bread, which often relies on commercial yeast and additives, sourdough is crafted through a natural fermentation process that not only enhances flavor but also improves digestibility and nutritional value. This ancient method of bread-making dates back thousands of years, yet it remains as relevant today as it was in ancient Egypt.
Making sourdough at home might seem intimidating at first, but with the right guidance, anyone can master it. This guide will walk you through everything you need to know—from the history and benefits of sourdough to a foolproof recipe, tips for success, and even how to troubleshoot common issues. Whether you’re a baking enthusiast or a complete beginner, this article will equip you with the knowledge and confidence to bake the perfect loaf.
A Brief History of Sourdough Bread
Sourdough is one of the oldest forms of bread, with roots tracing back to ancient Egypt around 1500 BCE. Archaeological evidence suggests that early bakers discovered that leaving flour and water out overnight would naturally ferment due to wild yeast and bacteria in the air. This fermentation process not only made the bread rise but also gave it a distinct tangy flavor.
The method spread across the globe, becoming a staple in many cultures. In San Francisco, sourdough became iconic in the 19th century during the Gold Rush, where miners relied on it as a durable and nutritious food source. Meanwhile, in Europe, sourdough was a dietary cornerstone, especially in regions like Italy and France, where it was (and still is) used to make rustic loaves like pane di Altamura and pain au levain.
What makes sourdough unique is its reliance on a natural starter—a living ecosystem of wild yeast and lactic acid bacteria. Unlike commercial bread, which uses baker’s yeast for a quick rise, sourdough ferments slowly, developing complex flavors and a chewy, open crumb structure. Today, sourdough has experienced a renaissance, with artisanal bakeries and home bakers alike rediscovering its artisanal charm and health benefits.
Why Sourdough? The Benefits of Fermented Bread
Sourdough isn’t just delicious—it’s also packed with benefits that set it apart from conventional bread. Here’s why you should consider adding it to your baking repertoire:
1. Improved Digestibility
The fermentation process breaks down gluten and phytic acid, making sourdough easier to digest, especially for people with mild gluten sensitivities. Studies have shown that sourdough can reduce bloating and discomfort compared to regular bread.
2. Enhanced Nutritional Value
Fermentation increases the availability of nutrients like magnesium, zinc, and B vitamins. It also produces prebiotic fibers, which feed the good bacteria in your gut, promoting a healthy microbiome.
3. Lower Glycemic Index
Due to its slow fermentation, sourdough has a lower glycemic index than most commercial bread, meaning it causes a slower, steadier rise in blood sugar. This makes it a better choice for people managing diabetes or looking to stabilize energy levels.
4. Longer Shelf Life
Thanks to the natural preservatives produced during fermentation (like acetic acid), sourdough stays fresh longer than regular bread. It can last 5–7 days at room temperature without going stale.
5. Superior Flavor and Texture
The slow fermentation process develops a complex, tangy flavor and a chewy, open crumb with a crispy crust. No two sourdough loaves taste exactly alike, as the flavor depends on the wild yeast and bacteria in your starter and environment.
6. No Artificial Additives
Unlike store-bought bread, which often contains preservatives, dough conditioners, and artificial flavors, sourdough is made with just flour, water, and salt. This makes it a cleaner, more natural choice for health-conscious bakers.
The Science Behind Sourdough: How Fermentation Works
At the heart of sourdough is lactic acid fermentation, a process driven by wild yeast and bacteria. Here’s a breakdown of what’s happening:
The Role of the Starter
A sourdough starter is a live culture of wild yeast (Saccharomyces exigus) and lactic acid bacteria (Lactobacillus). These microorganisms feed on the sugars in flour, producing:
- Carbon dioxide (CO₂): This gas gets trapped in the dough, causing it to rise.
- Lactic acid and acetic acid: These give sourdough its signature tangy flavor. Lactic acid contributes a mild, milky tang, while acetic acid (found in vinegar) adds a sharper note.
- Enzymes: These break down starches and proteins, improving digestibility and texture.
The Fermentation Process
- Initial Mix (Autolyse): When you mix flour and water, gluten begins to develop, creating a network that traps gas. This step improves dough strength and hydration.
- Bulk Fermentation: The dough rests for several hours, allowing the starter to leaven it. During this time, the yeast and bacteria multiply, producing CO₂ and acids.
- Lactic Acid Bacteria Dominance: As fermentation progresses, lactic acid bacteria outcompete yeast, lowering the pH and enhancing flavor.
- Proofing: After shaping, the dough undergoes a final rise (proofing), where it develops structure and flavor before baking.
Temperature and Time
- Ideal fermentation temperature: 75–78°F (24–26°C). Cooler temperatures slow fermentation, while warmer temperatures speed it up.
- Fermentation time: Typically 4–12 hours, depending on temperature, starter strength, and recipe. Longer fermentation = more flavor but requires careful monitoring to avoid overproofing.
Essential Tools and Ingredients for Sourdough
Tools You’ll Need
| Tool | Purpose |
|---|---|
| Digital kitchen scale | Precision is key—measure ingredients by weight for consistent results. |
| Mixing bowl | A large, non-reactive bowl (stainless steel or glass) for mixing dough. |
| Dough scraper | Helps handle sticky dough and shape loaves without tearing. |
| Banneton (proofing basket) | Supports the dough’s shape during final proofing. Can be lined with a towel. |
| Dutch oven | Mimics a professional bread oven, creating steam for a crispy crust. |
| Parchment paper | Prevents sticking and makes transferring dough to the oven easier. |
| Thermometer | Ensures your starter and dough reach the right temperature. |
| Lame or razor blade | Used to score the dough before baking for controlled expansion. |
Ingredients
| Ingredient | Quantity | Role in the Recipe |
|---|---|---|
| Bread flour | 500g (4 cups) | High-protein flour gives structure and chewiness. All-purpose flour works but yields a less open crumb. |
| Water | 350g (1 ½ cups) | Hydration level affects dough texture. 70% hydration is standard for beginners. |
| Salt | 10g (2 tsp) | Enhances flavor and controls fermentation. |
| Active sourdough starter | 100g (½ cup) | Leavens the dough and contributes to flavor development. Starter should float in water when ready. |
Step-by-Step Sourdough Bread Recipe
Day 1: Creating the Starter (If You Don’t Have One)
(Skip this step if you already have an active starter.)
- Mix: Combine 50g whole wheat flour + 50g water in a jar. Stir well.
- Cover: Use a loose lid or cloth to allow airflow while keeping out debris.
- Rest: Leave at room temperature (70–75°F / 21–24°C) for 24 hours.
- Feed: After 24 hours, discard half the starter and add 50g flour + 50g water. Repeat daily for 5–7 days until the starter is bubbly, doubles in size within 4–6 hours, and smells tangy.
Day 2: Mixing and Bulk Fermentation
1. Mix the Dough (Autolyse)
- Time: 30–60 minutes
- Method:
- In a large bowl, mix 500g bread flour and 350g water until no dry bits remain. Cover and let rest.
- Why? This hydrates the flour and starts gluten development.
2. Add Starter and Salt
- Time: 5 minutes
- Method:
- After autolyse, add 100g active starter and 10g salt. Mix thoroughly by hand or with a dough scraper until fully incorporated.
- Tip: Use wet hands to prevent sticking.
3. Bulk Fermentation
- Time: 4–6 hours (at 75–78°F / 24–26°C)
- Method:
- Cover the bowl with a damp towel or plastic wrap.
- Stretch and Fold: Every 30 minutes for the first 2 hours, perform 3–4 sets of stretch-and-folds:
- Wet your hands and grab one side of the dough.
- Stretch it upward and fold it over itself.
- Rotate the bowl and repeat on all sides.
- Why? This strengthens the dough and builds structure.
- Watch for: Dough should rise 50–75%, become puffy, and have bubbles on the surface.
Day 2: Shaping and Final Proof
4. Pre-Shape
- Time: 15 minutes
- Method:
- Turn dough onto a lightly floured surface.
- Shape into a loose round by folding the edges toward the center.
- Let rest 20–30 minutes (bench rest).
5. Final Shape
- Time: 10 minutes
- Method:
- Reshape into a tight boule (round) or batard (oval).
- Place seam-side up in a floured banneton (or a bowl lined with a floured towel).
- Cover and refrigerate overnight (12–16 hours) for cold proofing.
- Why? Cold proofing slows fermentation, enhances flavor, and makes scoring easier.
Day 3: Baking
6. Preheat and Score
- Time: 1 hour
- Method:
- Place a Dutch oven in the oven and preheat to 475°F (245°C) for 45–60 minutes.
- Turn dough onto parchment paper. Use a lame or razor to score the top (a single deep cut or a cross).
7. Bake
- Time: 40–45 minutes
- Method:
- Carefully transfer dough (with parchment) into the hot Dutch oven.
- Bake covered for 20 minutes.
- Remove lid and bake uncovered for 20–25 minutes until deep golden brown.
- Tip: Internal temperature should reach 205–210°F (96–99°C).
8. Cool
- Time: 2+ hours
- Method:
- Let the bread cool on a wire rack for at least 2 hours before slicing.
- Why? Slicing too soon traps steam, making the bread gummy.
Troubleshooting Common Sourdough Issues
| Problem | Cause | Solution |
|---|---|---|
| Dense loaf | Underproofed or weak starter | Extend bulk fermentation or strengthen starter with regular feedings. |
| Flat loaf | Overproofed or weak gluten | Reduce fermentation time or improve gluten development with more stretch-and-folds. |
| Pale crust | Low oven temperature or steam | Bake at higher temp (475°F+) or add ice cubes to Dutch oven for steam. |
| Sour flavor too strong | Over-fermented or long cold proof | Shorten fermentation time or reduce cold proof duration. |
| Sticky dough | Too much hydration or weak starter | Adjust hydration or feed starter more frequently to boost activity. |
Variations and Flavor Enhancements
Once you’ve mastered the classic sourdough, experiment with these variations:
1. Whole Wheat Sourdough
- Replace 200g bread flour with whole wheat flour.
- Tip: Whole wheat absorbs more water—adjust hydration to 65–68%.
2. Seeded Sourdough
- Add 50g mixed seeds (flax, sunflower, pumpkin) during the final fold.
- Tip: Toast seeds lightly for extra crunch.
3. Herb and Garlic Sourdough
- Mix 2 tbsp chopped fresh herbs (rosemary, thyme) and 1 minced garlic clove into the dough.
- Tip: Use dried herbs if fresh aren’t available.
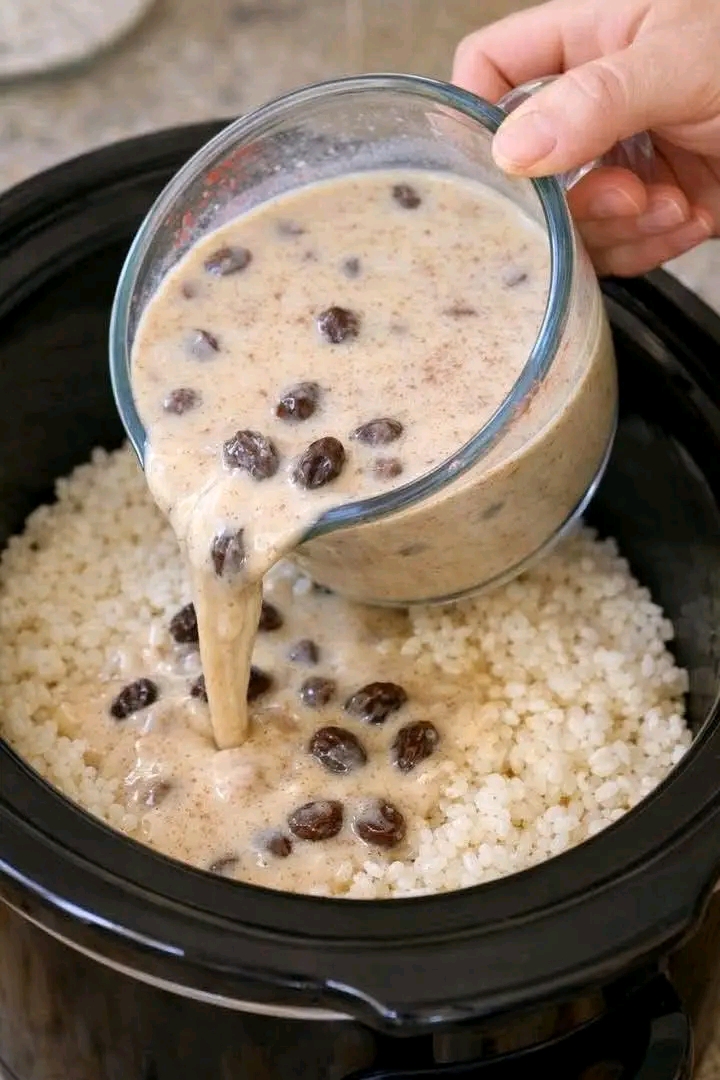
4. Cinnamon Raisin Sourdough (Sweet Version)
- Add 100g raisins and 1 tbsp cinnamon during the final fold.
- Tip: Soak raisins in warm water for 10 minutes to plump them up.
Nutritional Breakdown (Per Slice, ~1/10 of loaf)
| Nutrient | Amount |
|---|---|
| Calories | 160 kcal |
| Carbohydrates | 32g |
| Fiber | 2g |
| Protein | 5g |
| Fat | 1g |
| Iron | 15% DV |
| Magnesium | 10% DV |
| B Vitamins | 10–20% DV |
Source: USDA FoodData Central (approximate values; actual may vary based on flour and hydration.)
Lovers of Sourdough: Famous Fans and Cultural Impact
Sourdough isn’t just a bread—it’s a cultural phenomenon with a dedicated following. Here are some notable fans and moments in sourdough history:
1. The San Francisco Sourdough Tradition
- Why It’s Iconic: During the Gold Rush (1848–1855), sourdough became a staple for miners due to its durability and portability. The Boudin Bakery, founded in 1849, still uses the same starter from 1849!
- Fun Fact: The term “sourdough” was slang for a prospector who lived in the region long enough to develop a taste for the local bread.
2. Julia Child’s Love for Sourdough
- The legendary chef Julia Child was a sourdough enthusiast. In her book Mastering the Art of French Cooking, she dedicated an entire chapter to bread-making, emphasizing the importance of fermentation.
3. The Great Sourdough Revival
- In the 2010s, sourdough experienced a renaissance thanks to:
- Artisanal bakeries like Tartine Bakery (San Francisco) and Poilâne (Paris).
- Social media (Instagram, TikTok) where home bakers shared their creations.
- Pandemic baking boom (2020–2022): With people stuck at home, sourdough became a symbol of comfort and self-sufficiency.
4. Sourdough in Pop Culture
- Books: The Perfect Loaf by Maurizio Leo, Tartine Bread by Chad Robertson.
- TV Shows: The Bear (FX) features a sourdough storyline; Salt Fat Acid Heat (Netflix) highlights fermentation.
- Music: The band Sourdough (yes, really!) named themselves after the bread.
Conclusion: Why Sourdough is Worth the Effort
Baking sourdough bread is equal parts science, art, and patience, but the rewards are well worth it. The process connects you to a thousand-year-old tradition, transforms simple ingredients into something extraordinary, and delivers a loaf that’s far superior to anything you’d find in a store. Whether you’re drawn to sourdough for its health benefits, flavor complexity, or the joy of creation, one thing is certain: once you taste your first homemade loaf, you’ll never go back to store-bought bread again.
As you embark on your sourdough journey, remember that every starter is unique, and every loaf tells a story. Don’t be discouraged by early failures—even the most experienced bakers have had dense or flat loaves. The key is to experiment, observe, and adapt. With time, you’ll develop an intuition for fermentation and discover the joy of baking bread that’s truly yours.
So preheat your oven, feed your starter, and get ready to fill your home with the irresistible aroma of freshly baked sourdough. Your future self—and your taste buds—will thank you.
Final Tip: Share your first loaf with friends or family. There’s no better way to celebrate your achievement than with a warm slice of sourdough, slathered in butter, and a sense of pride in what you’ve created.
Would you like me to tailor this further for a specific type of recipe (e.g., vegan, gluten-free, dessert)? Or would you like to add a section on pairing suggestions (e.g., what to serve with sourdough)?