Crispy Southern Fried Chicken Recipe – The Ultimate Golden Crunchy Fried Chicken Drumsticks
There’s nothing quite like biting into a piece of perfectly fried chicken. The loud, satisfying crunch of the golden crust giving way to juicy, tender meat inside is one of life’s greatest pleasures. Whether it’s for a family dinner, weekend gathering, Sunday supper, or a special occasion, crispy fried chicken never fails to bring smiles to the table.
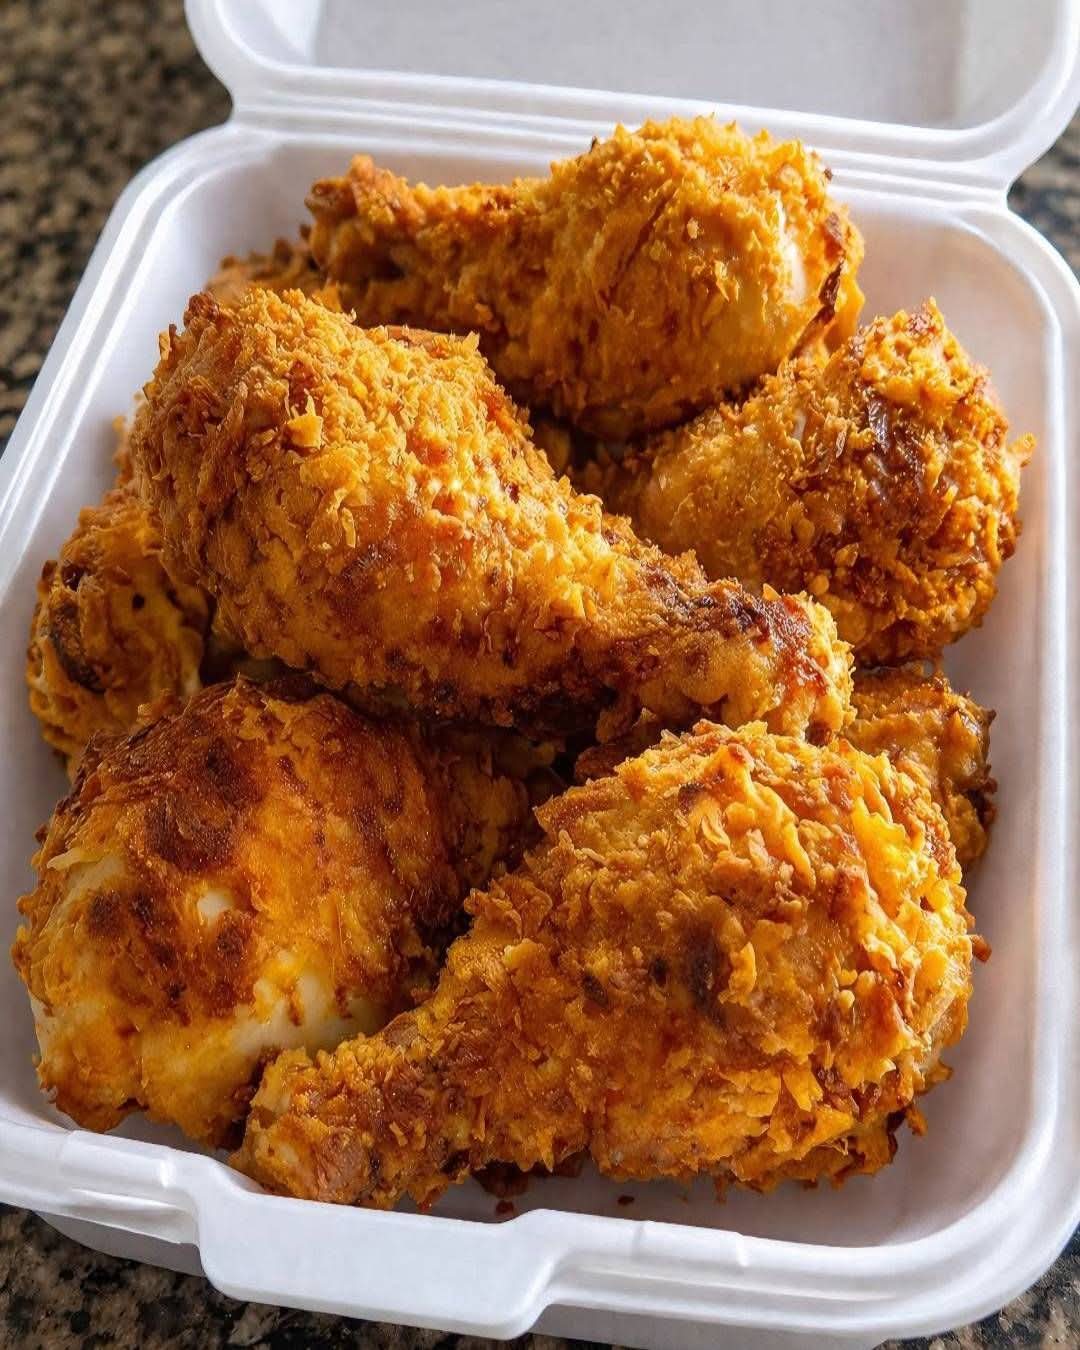
This is a big, comprehensive, step-by-step guide to making restaurant-quality Southern-style fried chicken drumsticks right in your own kitchen. We’re talking about that iconic golden-brown, ultra-crispy coating seasoned to perfection, with meat so moist and flavorful it practically falls off the bone.
In this massive recipe post, you’ll find everything you need: the science behind the perfect crust, detailed ingredient explanations, pro tips for maximum crispiness, common mistakes to avoid, flavor variations, side dish suggestions, storage instructions, reheating methods, and even a full troubleshooting section. By the end, you’ll be able to fry chicken like a pro.
Why drumsticks? They are forgiving for beginners, stay juicy, and have the perfect meat-to-crust ratio. But the techniques in this recipe work beautifully for thighs, wings, or even a whole cut-up chicken.
Let’s dive deep into the ultimate homemade crispy fried chicken experience.
Why This Fried Chicken Recipe Works
This recipe delivers outstanding results for several key reasons:
- Buttermilk brine soaks the chicken for at least 4 hours (ideally overnight). This tenderizes the meat, adds flavor, and helps the coating stick better.
- Seasoned flour dredge uses a carefully balanced blend of spices and a touch of baking powder to create an incredibly light, crunchy crust.
- Double dredging is the secret to thick, shaggy, restaurant-style breading that stays crispy.
- Proper oil temperature maintained between 350–375°F ensures the chicken cooks through without burning the outside.
- Resting time after coating allows the crust to adhere and prevents it from falling off.
- No shortcuts — every step is explained in detail so you understand the “why” behind each action.
This recipe yields about 8–10 large drumsticks (enough for 4–6 hungry people). Preparation time is 30 minutes active plus 4–24 hours brining. Frying time is approximately 35–45 minutes total.
Ingredients
For the Buttermilk Brine (Marinade)
- 8–10 chicken drumsticks (about 3–3.5 lbs / 1.4–1.6 kg), skin-on, bone-in
- 2 cups (475 ml) buttermilk
- 1 cup (240 ml) whole milk or water
- 2 tablespoons kosher salt
- 1 tablespoon smoked paprika
- 2 teaspoons garlic powder
- 2 teaspoons onion powder
- 1 teaspoon cayenne pepper (adjust for heat preference)
- 1 teaspoon freshly ground black pepper
- ½ teaspoon dried thyme
- ½ teaspoon dried oregano
- Optional: 1 tablespoon hot sauce (such as Louisiana or Frank’s) for extra flavor
For the Seasoned Flour Dredge
- 3 cups (375 g) all-purpose flour
- ½ cup (60 g) cornstarch (this is key for extra crispiness)
- 2 tablespoons baking powder (creates air pockets for lightness)
- 2 tablespoons kosher salt
- 1 tablespoon smoked paprika
- 1 tablespoon garlic powder
- 1 tablespoon onion powder
- 2 teaspoons cayenne pepper
- 2 teaspoons freshly ground black pepper
- 1 teaspoon white pepper
- 1 teaspoon dried thyme
- 1 teaspoon dried oregano
- ½ teaspoon mustard powder
- ½ teaspoon celery salt
- Optional: 1 teaspoon MSG (for that irresistible savory “umami” boost many restaurants use)
For Frying
- 2–3 quarts (2–3 liters) vegetable oil, peanut oil, or canola oil (high smoke point oil)
- Deep fryer, large heavy-bottomed pot, or Dutch oven
Important note on oil: You need enough oil to fully submerge the drumsticks or at least reach halfway up when frying in batches. Never fill your pot more than halfway with oil to avoid dangerous overflow.
Equipment You’ll Need
- Large mixing bowls
- Wire cooling rack + baking sheet (for resting and draining)
- Deep-fry thermometer (highly recommended)
- Tongs or spider strainer
- Paper towels
- Meat thermometer (to check internal temperature)
- Large heavy pot or deep fryer
Step-by-Step Instructions
Step 1: Prepare the Buttermilk Brine
In a large bowl, whisk together the buttermilk, milk (or water), salt, smoked paprika, garlic powder, onion powder, cayenne, black pepper, thyme, oregano, and hot sauce if using.
Add the chicken drumsticks to the bowl. Make sure every piece is fully submerged. If needed, place a plate on top to weigh them down.
Cover the bowl tightly with plastic wrap and refrigerate for at least 4 hours, but preferably 12–24 hours. The longer the brine, the more flavorful and tender the chicken will be. Do not exceed 24 hours or the chicken may become too salty.
Step 2: Prepare the Seasoned Flour Dredge
While the chicken is brining (or right before dredging), mix all the dry ingredients for the seasoned flour in a large, wide bowl or baking dish. Whisk thoroughly to ensure even distribution of spices.
Pro tip: Taste a tiny pinch of the flour mixture (before adding chicken). It should be boldly seasoned. Remember, some seasoning will be lost during frying, so don’t be shy.
Step 3: Dredge the Chicken (The Double-Dip Method)
Remove the chicken from the buttermilk brine. Let excess liquid drip off, but do not pat dry completely — a little moisture helps the flour stick.
Working with one drumstick at a time:
- Place the drumstick in the seasoned flour mixture.
- Press the flour firmly onto the chicken, turning and coating every surface, including under the skin if possible. Pack it on thick.
- Shake off excess flour gently.
- Dip the floured drumstick back into the buttermilk brine for 2–3 seconds (second dip).
- Let excess drip off again.
- Return to the flour mixture for the final coating. Press and pack the flour on generously to create a thick, shaggy crust. This double-dredging is what gives the signature crunchy texture.
Place the coated drumstick on a wire rack set over a baking sheet. Repeat with all pieces.
Important: Let the coated chicken rest at room temperature for 15–30 minutes (or up to 1 hour in the fridge). This step allows the flour to hydrate and adhere better, preventing the coating from falling off during frying.
Step 4: Heat the Oil
Pour oil into your pot until it reaches about 3–4 inches deep. Heat over medium-high heat until the oil reaches 350°F (175°C). Use a deep-fry thermometer for accuracy. Maintaining consistent temperature is crucial.
If you don’t have a thermometer, test by dropping a small pinch of flour into the oil. It should sizzle vigorously but not burn immediately.
Step 5: Fry the Chicken
Fry in batches — do not overcrowd the pot. Overcrowding lowers the oil temperature and results in soggy chicken.
Carefully lower 3–4 drumsticks into the hot oil using tongs. The oil should bubble vigorously around the chicken.
Fry for 12–15 minutes per batch, turning occasionally with tongs for even browning. The chicken is done when it reaches an internal temperature of 165°F (74°C) in the thickest part (avoid touching bone) and the crust is deep golden brown.
Remove fried chicken with a spider strainer or tongs and place on a clean wire rack set over a baking sheet (not paper towels — paper towels can make the bottom soggy). This allows air to circulate and keeps the crust crispy.
Let the oil temperature recover to 350°F before adding the next batch.
Step 6: Rest and Serve
Let the fried chicken rest for 5–10 minutes before serving. This allows the juices to redistribute and the crust to set perfectly.
Serve hot with your favorite sides and sauces.
Pro Tips for the Crispiest Fried Chicken
- Cornstarch is non-negotiable. It absorbs moisture and creates a lighter, crunchier crust than flour alone.
- Baking powder creates tiny air bubbles in the coating for extra crisp texture.
- Don’t skip the rest. The 15–30 minute rest after dredging is one of the most important steps.
- Temperature control is everything. Too hot and the outside burns before the inside cooks. Too cool and the chicken absorbs oil and becomes greasy.
- Use a wire rack. Never drain on paper towels directly — it steams the crust and makes it soggy.
- Season generously. Fried chicken needs bold seasoning because some gets lost in the hot oil.
- Bone-in, skin-on is best. The bone helps keep the meat juicy, and the skin is where the crunch lives.
- Fry at the right stage. Cold chicken straight from the fridge can lower oil temperature too much. Let it sit out 15–20 minutes before frying if it was refrigerated after dredging.
Common Mistakes to Avoid
- Overcrowding the pot
- Not maintaining oil temperature
- Patting the chicken completely dry before dredging
- Using old oil or oil with low smoke point
- Skipping the buttermilk brine
- Not double-dredging
- Placing hot chicken on paper towels
- Frying chicken straight from the fridge without tempering
Flavor Variations
Spicy Nashville-Style: After frying, brush the hot chicken with a spicy oil made from cayenne, brown sugar, paprika, garlic powder, and hot oil from the fryer.
Cajun Fried Chicken: Add extra cayenne, smoked paprika, and Cajun seasoning to both brine and dredge. Serve with remoulade sauce.
Lemon-Herb: Add lemon zest and fresh herbs (rosemary, thyme) to the brine. Finish with a squeeze of fresh lemon.
Extra Crunchy: Add crushed cornflakes or panko breadcrumbs to the final dredge.
Korean-Style Twist: After frying, toss in a sweet-spicy gochujang glaze.
Buttermilk Ranch: Add ranch seasoning packet to the dredge for a tangy twist.
Perfect Side Dishes for Fried Chicken
- Classic creamy coleslaw
- Buttery cornbread or corn muffins
- Macaroni and cheese (baked or stovetop)
- Mashed potatoes with chicken gravy
- Biscuits with honey butter
- Pickled vegetables or dill pickles
- French fries or potato wedges
- Green beans with bacon
- Watermelon slices (for a sweet contrast)
- Baked beans
Dipping Sauces Ideas
- Honey mustard
- Classic BBQ sauce
- Spicy sriracha mayo
- Ranch dressing
- Hot honey
- Garlic aioli
- Alabama white sauce
How to Store Leftover Fried Chicken
Fried chicken is best eaten fresh, but leftovers can be stored properly:
- Refrigerator: Cool completely, then store in an airtight container lined with paper towels. Keeps for 3–4 days.
- Freezer: Wrap individual pieces in parchment paper, then place in a freezer bag. Freeze for up to 3 months.
How to Reheat Fried Chicken (Keep it Crispy!)
Best method – Oven:
- Preheat oven to 375°F (190°C).
- Place chicken on a wire rack over a baking sheet.
- Bake for 15–20 minutes until heated through and crust is crispy again.
Air Fryer (excellent results):
- 350°F (175°C) for 8–12 minutes, flipping halfway.
Avoid microwave: It makes the crust rubbery.
Toaster oven works well for small batches.
Nutritional Information (Approximate per drumstick)
- Calories: 380–450
- Protein: 28g
- Fat: 22g
- Carbohydrates: 18g
(Values vary based on exact size and oil absorption)
Frequently Asked Questions
Can I use chicken thighs or breasts instead?
Yes. Thighs work beautifully with the same method. Breasts cook faster (8–12 minutes) so watch them carefully.
Can I make this gluten-free?
Yes. Replace all-purpose flour with a gluten-free 1:1 blend and use gluten-free cornstarch. The texture will be slightly different but still very good.
What if I don’t have buttermilk?
Make a substitute: mix 2 cups milk with 2 tablespoons lemon juice or vinegar. Let sit 10 minutes before using.
Is it safe to reuse the frying oil?
Yes, up to 2–3 times if strained and stored properly in a cool dark place. Discard when it becomes dark or smells off.
Why is my crust not sticking?
Usually caused by patting the chicken too dry, not double-dredging, or not resting after coating.
Can I fry ahead for a party?
Yes. Fry earlier in the day and reheat in the oven at 375°F for 15 minutes just before serving. The crust will crisp back up nicely.
Science Behind the Perfect Crust
The magic happens through several chemical and physical processes:
- Maillard reaction: The browning of proteins and sugars at high heat creates flavor and color.
- Starch gelatinization: Flour and cornstarch absorb moisture and form a rigid structure when heated.
- Leavening: Baking powder releases carbon dioxide, creating tiny air pockets for lightness.
- Moisture barrier: The thick coating prevents oil from penetrating deep into the meat while locking in juices.
- Protein denaturation: Buttermilk’s acidity tenderizes the chicken by breaking down proteins slightly.
Understanding these principles helps you troubleshoot and improve your results over time.
Final Thoughts
Making perfect crispy Southern fried chicken at home is a skill worth mastering. It takes practice, attention to detail, and respect for the process, but the reward is incredible.
Once you nail this recipe, you’ll never want takeout fried chicken again. Your family and friends will beg you to make it for every gathering.
This detailed recipe was written to give you every tool and piece of knowledge needed for success. Take your time, follow the steps, and don’t rush the brine or the resting periods.
Enjoy your crispy, juicy, golden fried chicken drumsticks!
Prep Time: 30 minutes + 4–24 hours brining
Cook Time: 35–45 minutes
Total Time: About 5 hours (with minimum brine)
Servings: 4–6 people
Keywords: fried chicken recipe, southern fried chicken, crispy chicken drumsticks, buttermilk fried chicken, homemade fried chicken