The Ultimate Homemade Banana Pudding: A Creamy, Classic Dessert
Banana pudding is one of those timeless desserts that evokes memories of family gatherings, potlucks, and Southern comfort food. This layered treat combines creamy vanilla pudding, fresh ripe bananas, and crisp vanilla wafers (like Nilla Wafers) into a harmonious blend of textures and flavors. Often topped with whipped cream or a light meringue, it’s a no-bake wonder in its modern form—though traditional versions sometimes include a quick bake for browning the topping.
In this comprehensive guide, we’ll dive deep into making the ultimate banana pudding inspired by the beloved no-bake style popularized by places like Magnolia Bakery and Paula Deen. This version uses instant vanilla pudding for ease, sweetened condensed milk for richness, and plenty of fresh whipped cream for that light, fluffy texture. We’ll cover everything from ingredients and step-by-step instructions to history, tips, variations, troubleshooting, serving suggestions, and nutritional insights. By the end, you’ll have all the knowledge to create a banana pudding that’s creamy, dreamy, and utterly irresistible.
Why This Banana Pudding Recipe Stands Out
While there are countless variations—from fully homemade custard to quick instant mixes—this recipe strikes the perfect balance:
- Rich and creamy thanks to sweetened condensed milk and folded-in whipped cream.
- No-bake convenience for hot days or quick prep.
- Abundant layers of Nilla Wafers that soften just right after chilling.
- Intense banana flavor from fresh slices (no artificial banana pudding mix needed).
- Crowd-pleasing size that serves 12-16 people easily.
It’s often called “Not Yo’ Mama’s Banana Pudding” in homage to Paula Deen’s famous twist, or a copycat of Magnolia Bakery’s viral version. Whichever way you slice it (pun intended), this is the banana pudding that disappears fastest at any gathering.
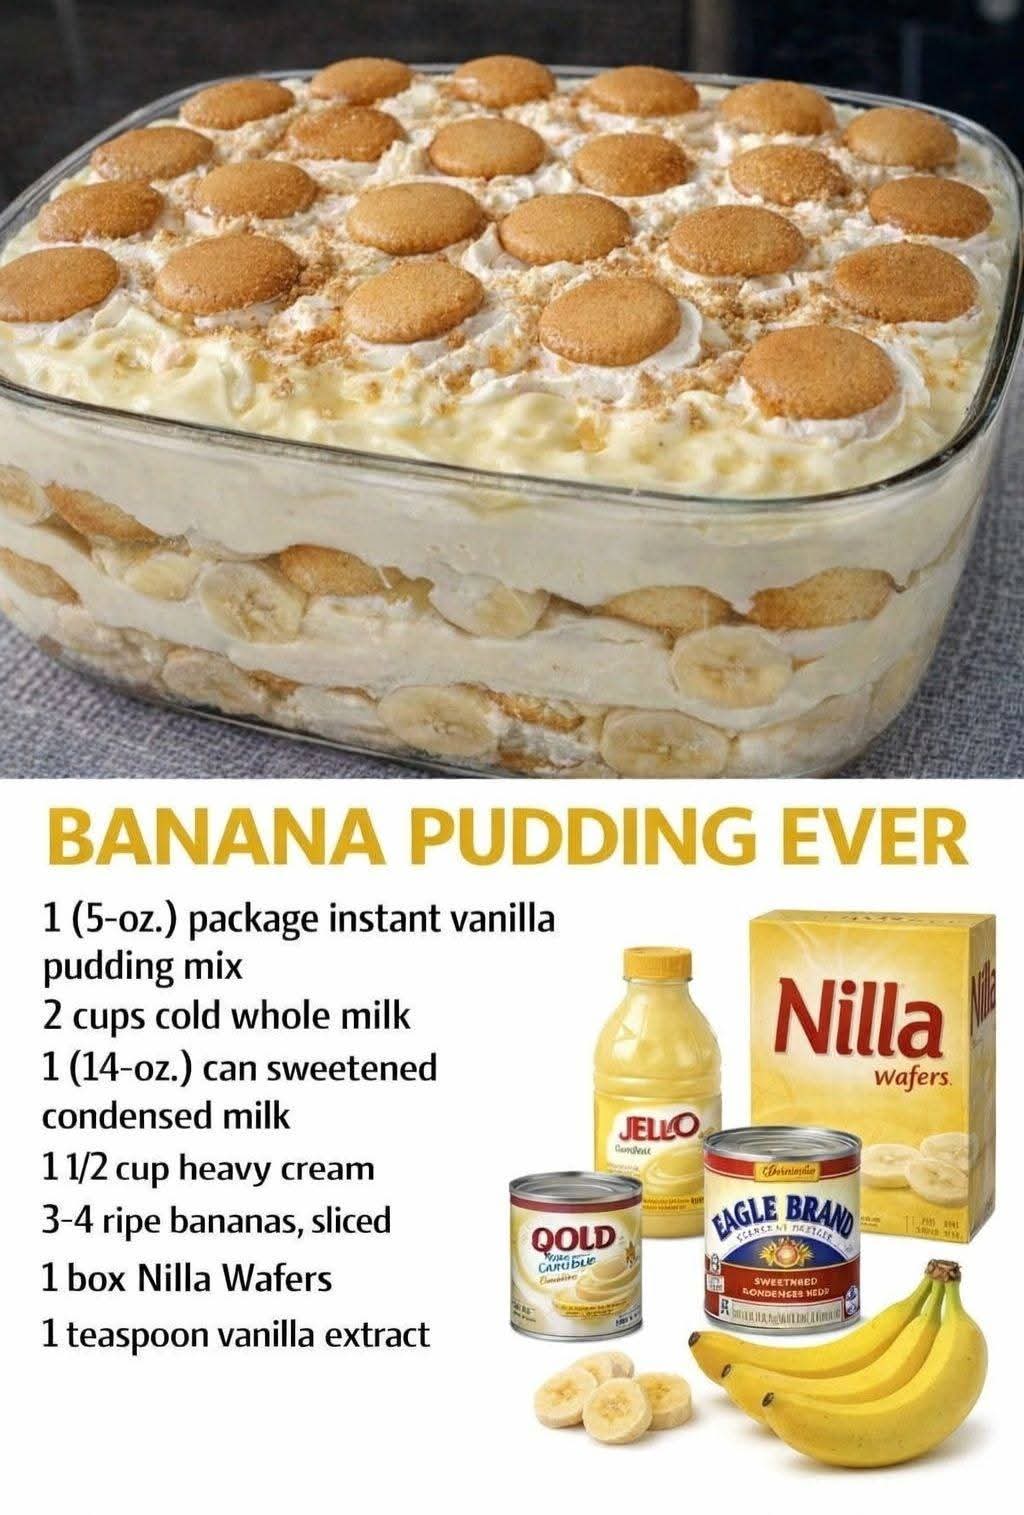
Ingredients (Serves 12-16)
For the Pudding Base:
- 1 (14-ounce) can sweetened condensed milk
- 1 ½ cups ice-cold water
- 1 (3.4-ounce) package instant vanilla pudding mix (Jell-O brand recommended for best texture)
- 1 teaspoon pure vanilla extract (optional, for extra depth)
For the Whipped Cream:
- 3 cups heavy whipping cream (cold)
- ¼ cup powdered sugar (adjust to taste for sweetness)
For Layering:
- 1 (11-12 ounce) box Nilla Wafers (or vanilla wafer cookies; reserve some for garnish)
- 5-6 large ripe bananas (firm but yellow with a few spots; about 4-5 cups sliced)
Optional Garnishes:
- Crushed Nilla Wafers
- Additional banana slices (add just before serving to prevent browning)
This recipe yields about 4-5 quarts of finished pudding, perfect for a 9×13-inch dish or trifle bowl.
Step-by-Step Instructions
Making this banana pudding is straightforward and requires no cooking—just mixing, whipping, layering, and chilling. Total hands-on time is about 20-30 minutes, plus at least 4 hours (preferably overnight) for chilling.
Step 1: Prepare the Vanilla Pudding Base
In a large mixing bowl, whisk together the sweetened condensed milk and ice-cold water until fully combined (about 1 minute). The mixture will be thin and watery at this stage—that’s normal!
Add the instant vanilla pudding mix. Using an electric mixer or whisk, beat on medium speed for 2 minutes until smooth, thick, and free of lumps. If desired, stir in the vanilla extract for an extra flavor boost.
Cover the bowl with plastic wrap and refrigerate for at least 3-4 hours (or overnight). This crucial step allows the pudding to set properly. Skipping it will result in a runny mixture.
Step 2: Whip the Cream
While the pudding chills (or just before assembling), pour the cold heavy whipping cream into a chilled bowl. Using an electric mixer fitted with the whisk attachment, beat on medium-high speed until soft peaks form (about 2-3 minutes).
Gradually add the powdered sugar and continue whipping until stiff peaks form (another 1-2 minutes). Be careful not to overwhip, or you’ll end up with butter!
Step 3: Fold the Mixtures Together
Once the pudding has set, gently fold the whipped cream into the pudding mixture using a spatula. Do this in batches to avoid deflating the cream—fold until no streaks remain, creating a light, mousse-like texture.
Step 4: Slice the Bananas
Peel and slice the bananas into ¼-inch rounds just before assembling. To prevent browning, you can toss them lightly in a bit of lemon juice (1-2 teaspoons), though many prefer the natural flavor without it.
Step 5: Assemble the Layers
Choose a large clear glass trifle dish (for beautiful presentation) or a 9×13-inch baking dish.
- Spread a thin layer of the cream mixture on the bottom (this helps the wafers stay in place).
- Add a single layer of Nilla Wafers (about ⅓ of the box), overlapping slightly.
- Top with ⅓ of the sliced bananas.
- Spread ⅓ of the remaining cream mixture evenly over the bananas.
Repeat the layers two more times: wafers, bananas, cream. End with a final layer of cream on top.
For garnish, crumble a handful of wafers over the top or arrange whole wafers upright around the edges.
Step 6: Chill and Serve
Cover tightly with plastic wrap and refrigerate for at least 4 hours (up to 8-12 hours max). This allows the wafers to soften into a cake-like texture and the flavors to meld.
Serve chilled with a large spoon for scooping generous portions.
The History of Banana Pudding
Banana pudding has deep roots in American dessert culture, particularly in the South. Bananas became widely available in the U.S. in the late 19th century thanks to improved shipping from tropical regions. Early recipes from the 1880s-1890s featured layered custard with sponge cake or ladyfingers and fresh bananas, similar to an English trifle.
By the 1920s, home cooks began substituting vanilla wafers for cake, and the modern version took shape. Nabisco (makers of Nilla Wafers) capitalized on this in the 1940s by printing banana pudding recipes on their boxes, cementing the cookie’s place in the dessert.
Southern variations often include homemade custard and meringue topping (baked for browning), while no-bake versions with instant pudding and whipped topping gained popularity in the mid-20th century. Icons like Paula Deen and Magnolia Bakery elevated the creamy, condensed milk-enriched style in the 2000s, making it a viral sensation.
Today, banana pudding represents comfort, nostalgia, and versatility—perfect for everything from church potlucks to upscale bakery lines.
Expert Tips for Perfect Banana Pudding Every Time
- Banana ripeness matters: Use bananas that are ripe but firm—yellow with light brown spots. Overripe ones turn mushy and brown quickly; underripe lack sweetness.
- Prevent banana browning: Slice bananas right before layering. If making ahead, a light lemon juice toss helps, but it can add subtle tang.
- Wafers for texture: Nilla Wafers are classic for their crispness and subtle vanilla flavor. Generics may crumble or lack taste—stick to name brands.
- Chilling is key: Don’t rush this! 4-8 hours minimum lets wafers soften without getting soggy.
- Make-ahead friendly: Assemble up to 24 hours in advance, but add top garnishes just before serving.
- Scaling the recipe: For a smaller batch, halve everything and use an 8×8-inch dish. Double for crowds.
- Room temperature caution: Serve within 2 hours at room temp to avoid spoilage.
Common Troubleshooting
- Runny pudding? The base wasn’t chilled long enough before folding in cream, or overmixed whipped cream deflated.
- Too sweet? Reduce powdered sugar in the whipped cream or use less condensed milk (though it affects richness).
- Wafers too crunchy or soggy? Adjust chill time—shorter for more bite, longer for cake-like softness.
- Bananas browned? Exposure to air; cover tightly and serve within 1-2 days.
- Separated layers? Fold gently and layer evenly.
Delicious Variations to Try
Banana pudding is endlessly customizable:
- Paula Deen-Inspired: Add 8 oz softened cream cheese to the condensed milk for extra tang and thickness.
- Classic Southern Baked: Use homemade custard, top with meringue from egg whites, and bake briefly to brown.
- Chocolate Twist: Layer with chocolate wafers or add cocoa to the pudding.
- Tropical Vibes: Mix in crushed pineapple or coconut flakes.
- Boozy Adult Version: Splash rum or banana liqueur into the pudding.
- Healthier Light: Use sugar-free pudding, low-fat milk, and light whipped topping.
- Individual Servings: Layer in mason jars for portable parfaits.
- Cookie Swap: Try shortbread (like Chessmen) or graham crackers for a different crunch.
Serving Suggestions and Pairings
This dessert shines on its own but pairs beautifully with:
- Coffee or iced tea for afternoon treats.
- Barbecue mains like ribs or pulled pork—classic Southern combo.
- Fresh berries or a scoop of vanilla ice cream on the side.
- Holiday spreads: Easter, Thanksgiving, or summer picnics.
Portion into bowls or cups for easy serving. It’s best eaten within 2-3 days—leftovers (if any!) soften further for an even creamier texture.
Nutritional Information (Per Serving, Approx.)
Based on 16 servings:
- Calories: 350-400
- Fat: 20g (mostly from cream)
- Carbs: 45g (from wafers and bananas)
- Protein: 5g
- Sugar: 30g (natural and added)
It’s indulgent, so enjoy in moderation! For lighter options, see variations above.
Why You’ll Make This Again and Again
This banana pudding isn’t just a recipe—it’s an experience. The contrast of creamy filling, softened wafers, and fresh banana bursts creates pure bliss in every spoonful. Whether you’re recreating childhood memories or introducing it to new fans, this version delivers consistent raves.
Gather your ingredients, layer with love, and watch it vanish. Happy pudding-making!