Introduction
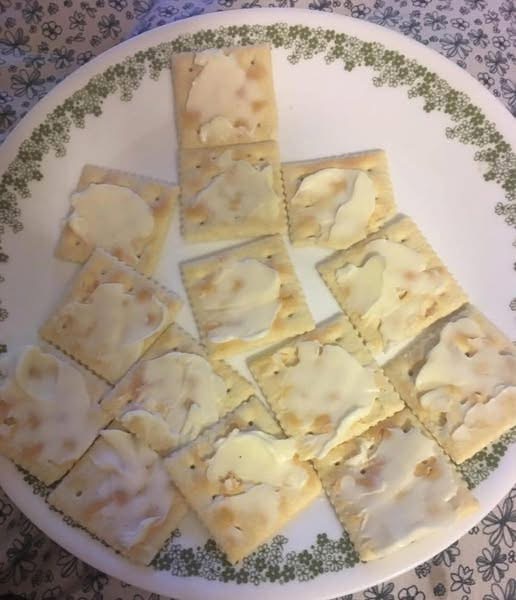
Saltine crackers are those light, crisp, square crackers with a slightly salty flavor and airy texture that many of us grew up eating alongside soups, cheeses, or spreads. Store-bought versions are common, but making them at home brings an unbeatable freshness, richer flavor, and control over the ingredients. With a few pantry staples and a bit of patience, you can create these golden-baked crackers that taste even better than packaged ones.
Ingredients
- 2 cups all-purpose flour (plus extra for dusting)
- 1 tsp baking powder
- 1 tsp salt (kosher or fine sea salt)
- 2 tbsp unsalted butter (cold, cut into small cubes)
- ⅔ cup warm water
- 1 tbsp olive oil (optional, for extra crispiness)
- Coarse salt (for sprinkling on top)
Instructions
- Prepare the dough:
- In a large bowl, whisk together flour, baking powder, and salt.
- Cut in the cold butter using a pastry cutter or your fingertips until the mixture looks like fine crumbs.
- Slowly add warm water (and olive oil if using), mixing until a smooth, slightly firm dough forms.
- Rest the dough:
- Cover the dough with a kitchen towel and let it rest for about 20–30 minutes at room temperature. This helps gluten relax and makes rolling easier.
- Roll out thinly:
- Preheat oven to 400°F (200°C).
- Roll the dough out on a floured surface as thin as possible (paper-thin for maximum crisp).
- Cut into squares:
- Use a sharp knife, pizza cutter, or pastry wheel to cut the dough into even squares (about 2 inches each).
- Place them on a parchment-lined baking sheet.
- Dock the crackers:
- Use a fork to prick holes in each cracker. This prevents puffing and gives them that classic saltine look.
- Salt & bake:
- Lightly brush with water or oil and sprinkle with coarse salt.
- Bake for 10–12 minutes, or until golden and crisp.
- Cool & store:
- Allow crackers to cool completely on a wire rack.
- Store in an airtight container for up to 1 week.
Methods
- Baking method: Traditional oven baking ensures even crispness.
- Rolling method: The thinner the dough, the lighter and crispier the crackers.
- Flavor method: Add garlic powder, rosemary, paprika, or sesame seeds for flavored variations.
History
Saltine crackers were invented in the mid-1800s in the United States. The word “saltine” was first trademarked by Nabisco in 1907, but the cracker itself had already been a staple for decades. They were originally made as a longer-lasting bread alternative for sailors and travelers—earning the name “soda crackers” because they used baking soda in the dough. Over time, they became an American pantry classic, often enjoyed with soups, cheese, peanut butter, or just as a simple salty snack.
Benefits
- Homemade & wholesome: No preservatives or artificial ingredients.
- Budget-friendly: Made with inexpensive pantry staples.
- Customizable: You can control salt levels, add herbs, or make gluten-free versions.
- Light & digestible: Easy on the stomach, often given during recovery from illness.
Formation (How They Come Together)
The dough forms from a balance of flour, fat, and water. Rolling it thin creates layers that bake into crisp sheets. Docking (pricking) prevents large bubbles, keeping the cracker flat and snappy. Finally, the salt topping enhances flavor and gives the iconic saltine crunch.
Nutrition (per 5 crackers, approx.)
- Calories: 90 kcal
- Carbohydrates: 16 g
- Protein: 2 g
- Fat: 2 g
- Fiber: 1 g
- Sodium: 150 mg
Lovers of This Recipe
- Soup lovers: Perfect dunking companion.
- Cheese lovers: A neutral base for strong cheeses.
- Snack lovers: Great on their own or with peanut butter.
- Homesteaders & bakers: Love making pantry staples from scratch.
Conclusion
Homemade saltine crackers are a simple yet rewarding baking project. With their crisp bite, salty finish, and versatility, they’re perfect for soups, spreads, or snacks. Once you try making them fresh, store-bought saltines will never taste the same again. Loved by kids, comfort-seekers, and snack enthusiasts, these crackers prove that sometimes the simplest recipes bring the most joy