Introduction to No Knead Artisan Bread
No-Knead Bread revolutionized home baking by offering an easy way to achieve bakery-quality loaves without the need for intensive kneading or specialized equipment. Introduced to the masses by Jim Lahey, a New York baker, this method gained popularity in the early 2000s after being featured in The New York Times. Its simplicity, combined with the time-tested fermentation process, produces a light, airy crumb with a crisp crust.
The secret behind this recipe is time rather than effort. By allowing the dough to ferment over a longer period, the gluten in the flour develops naturally. This results in a bread that’s not only flavorful but also boasts a professional-looking crust, reminiscent of traditional European loaves.
Ingredients (Big Ingredients for Big Flavor):
This recipe makes one large loaf.
- 3 cups (360g) all-purpose flour – Make sure to use unbleached for a more rustic texture.
- 1 1/4 tsp (7g) salt – Enhances the flavor, balances the yeast, and helps with crust formation.
- 1/4 tsp (1g) active dry yeast – Just a tiny amount is needed due to the long fermentation time.
- 1 1/2 cups (350g) warm water – This helps activate the yeast and keeps the dough hydrated.
- Cornmeal or additional flour for dusting – Optional for adding texture to the crust.
Optional:
- Herbs like rosemary or thyme for added flavor.
- Sesame or sunflower seeds for added texture on the crust.
Instructions (Big Step-by-Step Process):
Step 1: Mix the Dough
- Combine the dry ingredients: In a large mixing bowl, whisk together the flour, salt, and yeast.
- Add the water: Pour the warm water into the dry ingredients. Stir with a wooden spoon or spatula until a sticky dough forms. It may look rough, but don’t worry – that’s exactly what you want. The dough should be sticky, not dry or too watery.
Step 2: Let It Rise (12-18 Hours)
- Cover and rest: Cover the bowl with plastic wrap or a clean towel. Let the dough rest at room temperature (around 70°F/21°C) for 12 to 18 hours. This long fermentation is crucial as it allows the yeast to develop the bread’s texture and flavor.
- Check for readiness: After this time, the dough should have risen, and the surface will be dotted with bubbles. It will look puffy and be more than doubled in size.
Step 3: Shape the Dough
- Flour your hands and surface: Generously dust a clean work surface with flour. Use your hands or a dough scraper to gently transfer the dough onto the floured surface.
- Shape into a ball: Using just enough flour to prevent sticking, fold the dough over itself a couple of times, then shape it into a ball. Do this gently so as not to deflate the air bubbles that formed during fermentation.
Step 4: Let the Dough Rest (30-60 Minutes)
- Prepare a second rise: Line a clean kitchen towel with flour or cornmeal. Place the dough on the towel, seam side down, and fold the towel loosely over the dough.
- Rest for 30-60 minutes: Let the dough rest at room temperature until it has risen slightly, becoming puffier.
Step 5: Preheat the Oven with a Dutch Oven (450°F/230°C)
- Preheat the Dutch oven: About 30 minutes before you plan to bake the bread, place a heavy-lidded pot (Dutch oven) into your oven and preheat to 450°F (230°C). The pot should be hot when the dough is placed inside to create steam, giving you that signature artisan crust.
Step 6: Bake the Bread
- Transfer the dough: Carefully remove the hot Dutch oven from the oven. Transfer the dough into the Dutch oven (you can flip it from the towel so the seam is now on top).
- Bake covered: Place the lid on the pot and bake for 30 minutes. This traps the steam inside, which helps the bread rise and form a crisp crust.
- Uncover and finish baking: After 30 minutes, remove the lid and bake for another 15-20 minutes until the loaf is deeply golden and crispy on top.
Step 7: Cool and Enjoy
- Let it cool: Transfer the bread to a wire rack and let it cool for at least an hour before slicing. This allows the inside to fully set and develop its chewy texture.
Benefits (Big Advantages of Homemade Artisan Bread)
1. Minimal Effort, Maximum Flavor
- Time does the work for you: This bread requires almost no hands-on work. The long fermentation process enhances the bread’s natural flavor without requiring kneading, making it an ideal choice for those who want delicious, bakery-style bread with minimal effort.
- The extended fermentation develops a rich, complex flavor, much like sourdough, even with just a pinch of yeast.
2. Healthier Alternative to Store-Bought Bread
- No preservatives: Unlike most store-bought breads that contain additives and preservatives to extend shelf life, homemade bread is free from chemicals.
- Control over ingredients: You decide what goes into your bread. You can adjust the salt, choose different types of flours (whole wheat, rye, etc.), or add seeds and grains for extra nutrients.
3. Nutritious and Filling
- Rich in carbohydrates: Artisan bread is an excellent source of complex carbohydrates, providing steady energy throughout the day.
- Good protein content: The bread has around 4g of protein per slice, which supports muscle repair and overall body function.
- Low fat: With virtually no fat, this bread is a great option for those looking to reduce their fat intake while still enjoying a hearty loaf.
4. High in Fiber (If Made with Whole Wheat Flour)
- Using whole wheat or adding seeds can significantly boost the fiber content, which is crucial for digestive health and maintaining steady blood sugar levels.
- Increases satiety: The fiber helps you feel full for longer, reducing the urge to snack and promoting better portion control.
5. Versatile and Customizable
- Add flavors: You can enhance the dough with herbs like rosemary, thyme, or oregano, or add ingredients like garlic or olives to give it a Mediterranean touch.
- Texture variety: Seeds such as flax, sesame, or sunflower can be added to the dough or sprinkled on top before baking to add crunch and extra nutrition.
6. Perfect for Any Meal
- Breakfast: Enjoy it with butter, jam, or as a base for avocado toast.
- Lunch/Dinner: Use it for sandwiches or serve alongside soups and salads.
- Snack: A slice of this artisan bread makes a satisfying snack with a little olive oil or cheese.
7. Economical
- Making bread at home is much cheaper than buying high-quality artisan loaves from bakeries. The ingredients for this recipe are inexpensive, and the effort is minimal.
8. Great for Entertaining
- The beautiful crust and rustic appearance of this loaf make it an impressive addition to any dinner table. It’s perfect for sharing at family gatherings or dinner parties.
9. Enhances Cooking Skills
- Making this bread helps build foundational baking skills. The slow fermentation process teaches patience, while the hands-off technique builds confidence for future bread-baking projects.
10. Promotes Digestive Health
- The long fermentation process involved in no-knead bread improves digestibility. It helps break down gluten proteins, making the bread gentler on your stomach compared to quick-rise breads.
11. Natural Source of Nutrients
- Artisan bread is a good source of essential minerals like iron, which helps carry oxygen in the blood, and calcium for bone health.
By baking No-Knead Artisan Bread, you not only bring an ancient, wholesome tradition into your kitchen but also gain a healthy, versatile, and delicious addition to your diet. Whether for a special meal or your everyday slice, the benefits are as abundant as the flavor.
- Flavor: The long fermentation process enhances the flavor, yielding a more complex, tangy taste.
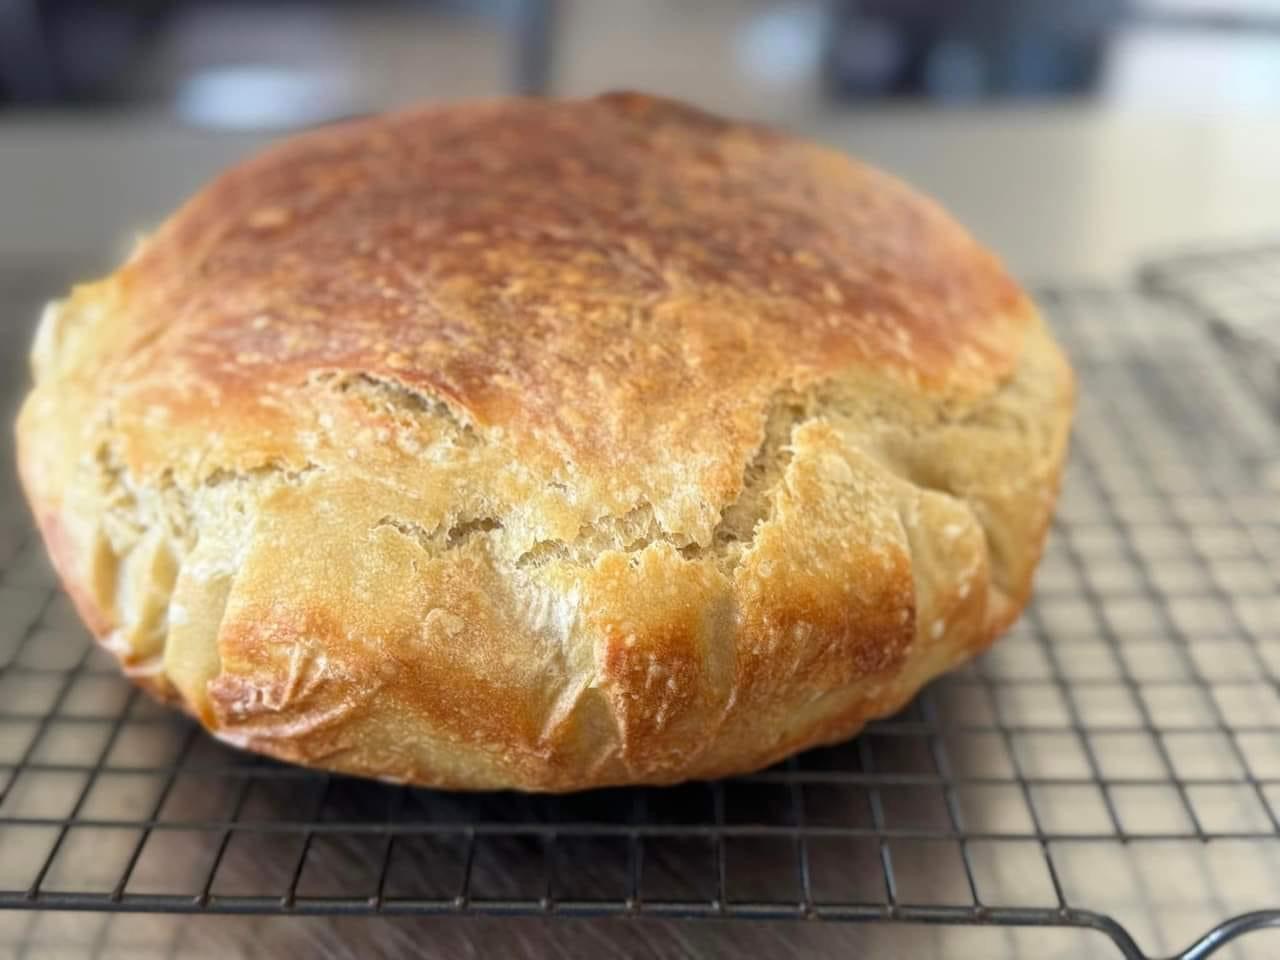
- Texture: The airy crumb with large holes and the crisp, crackling crust is characteristic of professional bakery loaves.
- No-Knead Method: It’s an easy recipe that doesn’t require elbow grease or special techniques—time does the work for you.
- Customizable: You can add herbs, seeds, or nuts to suit your flavor preferences.
- Nutrition: Homemade bread is free of preservatives and additives. Plus, you can control the ingredients, such as using whole wheat or different flours for extra nutrients.
Nutrition Facts (Per Slice, Approximate)
Here is a more detailed breakdown of the nutrition for a typical slice of No-Knead Artisan Bread, based on an average 12-slice loaf:
Nutrition Facts (Per Slice Approximation):
- Calories: 150 kcal
- Carbohydrates: 28g
- Sugars: 0g
- Dietary Fiber: 1g
- Protein: 4g
- Total Fat: 0.5g
- Saturated Fat: 0g
- Trans Fat: 0g
- Cholesterol: 0mg
- Sodium: 200mg
- Depending on how much salt you add, this could vary slightly.
- Calcium: 8mg
- Iron: 1.5mg
Key Nutritional Benefits:
- Low in Fat: Artisan bread contains very little fat, making it a healthier option compared to more processed or enriched breads.
- Good Source of Carbohydrates: Provides energy from complex carbohydrates that are slowly absorbed, helping maintain steady energy levels.
- Moderate Protein: With around 4g of protein per slice, this bread contributes to your daily protein intake.
- Low Sugar: No added sugars mean this bread is a great option for those watching their sugar intake.
- Good Fiber Source: Depending on the flour used, you can boost the fiber content, which aids in digestion.
- Low-Calorie: At only 150 calories per slice, this bread fits easily into a balanced diet.
For additional nutrients, you can experiment with whole wheat flour or add seeds and nuts for extra fiber, healthy fats, and minerals.
- Calories: 150 kcal
- Carbohydrates: 28g
- Protein: 4g
- Fat: 0.5g
- Fiber: 1g
- Sodium: 200mg
- Sugar: 0g
History of No-Knead Bread (Big Historical Context)
The History of Artisan Bread
Artisan bread has a long and rich history, deeply connected to the development of human civilization itself. Here’s a journey through time on how no-knead artisan bread and similar styles evolved, from ancient techniques to modern-day kitchens.
1. Ancient Beginnings: The Birth of Bread
Bread-making dates back over 12,000 years to the dawn of agriculture in the Fertile Crescent (modern-day Iraq, Egypt, and Turkey). As humans shifted from hunter-gatherer lifestyles to settled farming communities, they began cultivating grains like wheat and barley. These grains were ground into flour and mixed with water, creating simple, flat unleavened breads.
- Sourdough discovery: Ancient civilizations accidentally discovered leavening through wild yeast in the air. This caused the dough to ferment, creating the first naturally leavened bread. This discovery marked the birth of bread as we know it today.
2. Early Civilization: Egypt and Mesopotamia
The ancient Egyptians were among the first people to perfect the art of bread-making, introducing the idea of fermentation and ovens around 3000 B.C. They worshipped bread as a gift from the gods and even placed bread in the tombs of pharaohs for their journey into the afterlife.
- Egyptian ovens became more advanced, allowing them to bake a variety of bread shapes and sizes, some similar to modern-day loaves. Their techniques spread through trade and conquest, influencing other early civilizations such as Greece and Rome.
3. Middle Ages: The Rise of Artisan Bread
During the Middle Ages, bread was a staple food in Europe. Villages had community ovens where everyone would bring their dough to be baked. This is where the term “artisan bread” began to take shape—local bakers specialized in their craft, using traditional methods like slow fermentation to create rustic, hearty loaves.
- Bread-making knowledge was passed down through generations, and different regions developed their own unique types of bread, from France’s baguettes to Italy’s ciabatta.
4. Industrial Revolution: The Shift to Mass Production
In the 19th century, with the Industrial Revolution, bread-making transformed drastically. The invention of commercial yeast in the late 1800s allowed for faster and more predictable bread-making, pushing aside traditional slow-fermentation methods in favor of efficiency. This marked the rise of factory-produced bread and the decline of traditional artisan techniques.
- Mass-produced bread became common in urban areas, providing affordable and readily available loaves for the growing populations. However, this shift led to bread losing some of its traditional flavor and texture as methods prioritized speed over quality.
5. The Revival of Artisan Bread in the 20th Century
By the mid-20th century, people began to notice the difference between mass-produced bread and the rich, flavorful loaves made using traditional methods. This gave rise to the artisan bread movement in the late 20th century, particularly in Europe and the United States, where bakers began reviving old-world bread-making techniques.
- No-knead bread, popularized by Jim Lahey in 2006, became a cornerstone of this revival. His method relied on slow fermentation and required minimal effort, allowing home bakers to replicate the crusty, rustic bread once only available from artisanal bakers. Lahey’s recipe, published in The New York Times, sparked a global trend in no-knead bread baking, making it accessible to the masses.
6. Modern-Day Artisan Bread: A Return to Tradition
Today, the appreciation for artisan bread has come full circle. More people are turning to traditional methods, embracing slow-fermentation, simple ingredients, and minimal processing. No-knead bread, in particular, has gained popularity for its ease, requiring little more than flour, water, salt, yeast, and time.
- This style of bread-making mirrors the ancient techniques practiced thousands of years ago—slow, natural fermentation and minimal hands-on involvement. Whether in home kitchens or small-scale bakeries, people value the depth of flavor, texture, and aroma that only time can create.
Conclusion
Artisan bread-making is more than just a culinary technique—it’s a connection to history, an embodiment of ancient food culture that stretches back thousands of years. By making No-Knead Artisan Bread, we are tapping into the essence of traditional bread-making, a practice that has nourished civilizations for millennia. The slow fermentation process that makes this bread so unique isn’t just about flavor—it’s about honoring a craft that has stood the test of time.
The concept of no-knead bread can be traced back to ancient times when bread-making was largely a hands-off process. Early civilizations, including the Egyptians, Babylonians, and Romans, used wild yeast and long fermentation periods to create bread with minimal kneading.
In modern times, the idea of no-knead bread was popularized by Jim Lahey of Sullivan Street Bakery in New York. Lahey introduced a simple, rustic approach to bread-making in 2006. His method, which focuses on slow fermentation and high moisture dough, mimicked the results of more traditional baking without the need for extensive kneading. When food writer Mark Bittman featured it in The New York Times, the recipe became a sensation, forever changing home baking.
Conclusion (Big Wrap-Up):
No-Knead Artisan Bread represents the beauty of simplicity in the kitchen. With just a few basic ingredients, time, and a trusty Dutch oven, you can create a loaf that rivals any bakery’s offering. The crispy, golden crust and tender, airy crumb make this bread perfect for sandwiches, dipping into soups, or simply enjoying with butter. The method empowers home bakers of all skill levels to create something spectacular, reminding us that sometimes the best things come from patience and good ingredients.
Enjoy baking! Let this loaf be your entryway into the world of artisan bread-making.